Flaky, soft, and buttery, my classic dinner rolls are the perfect addition to your family’s dinner table. Serve these delicious soft dinner rolls at your next holiday meal, dinner party, or just to make a weeknight meal extra special. I guarantee my homemade dinner rolls will bring smiles to your table; they’re a simple pleasure your whole family will love!
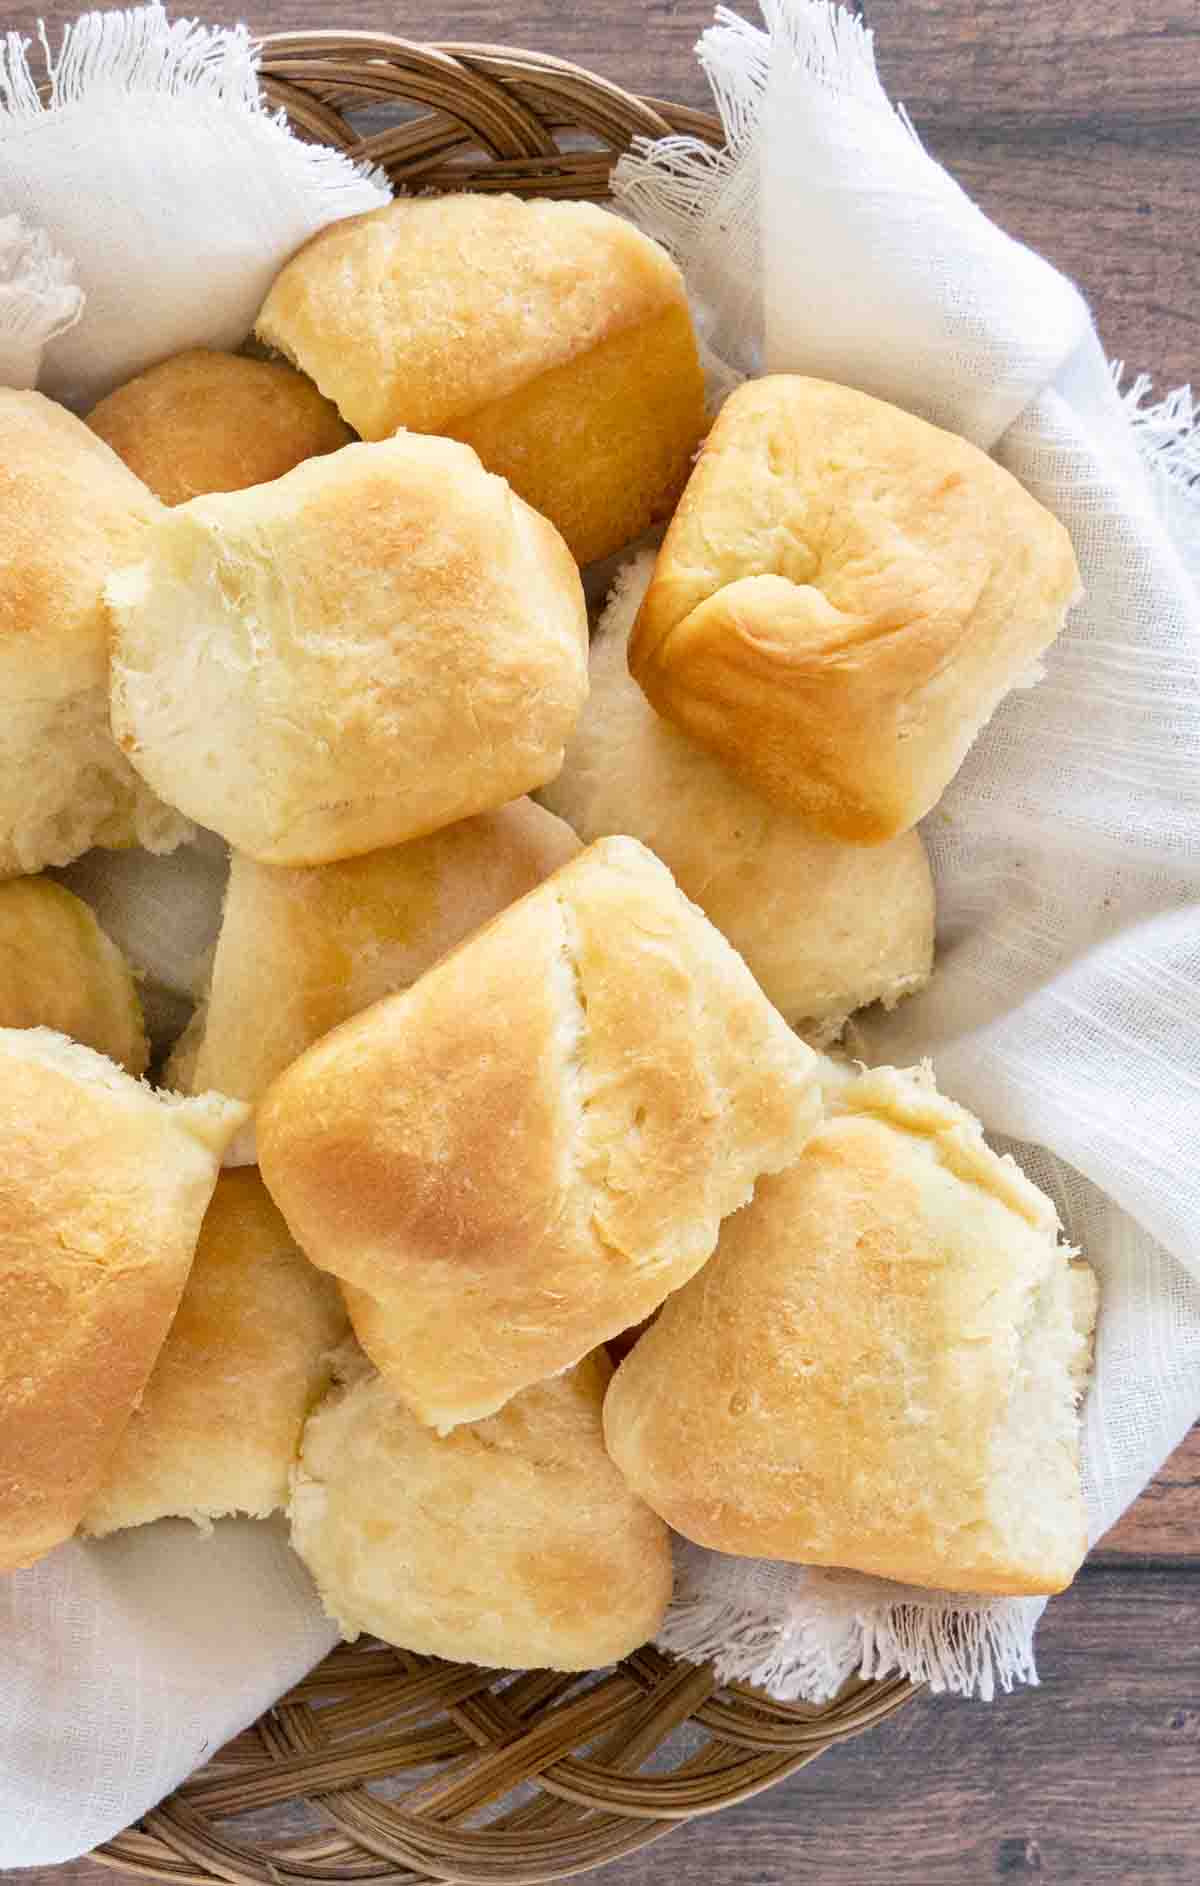
Made from simple ingredients, my homemade dinner rolls are easier to make than you might think. Just follow the simple step-by-step instructions; mix the dough, let it rise, make the rolls, let them rise, then bake till golden brown.
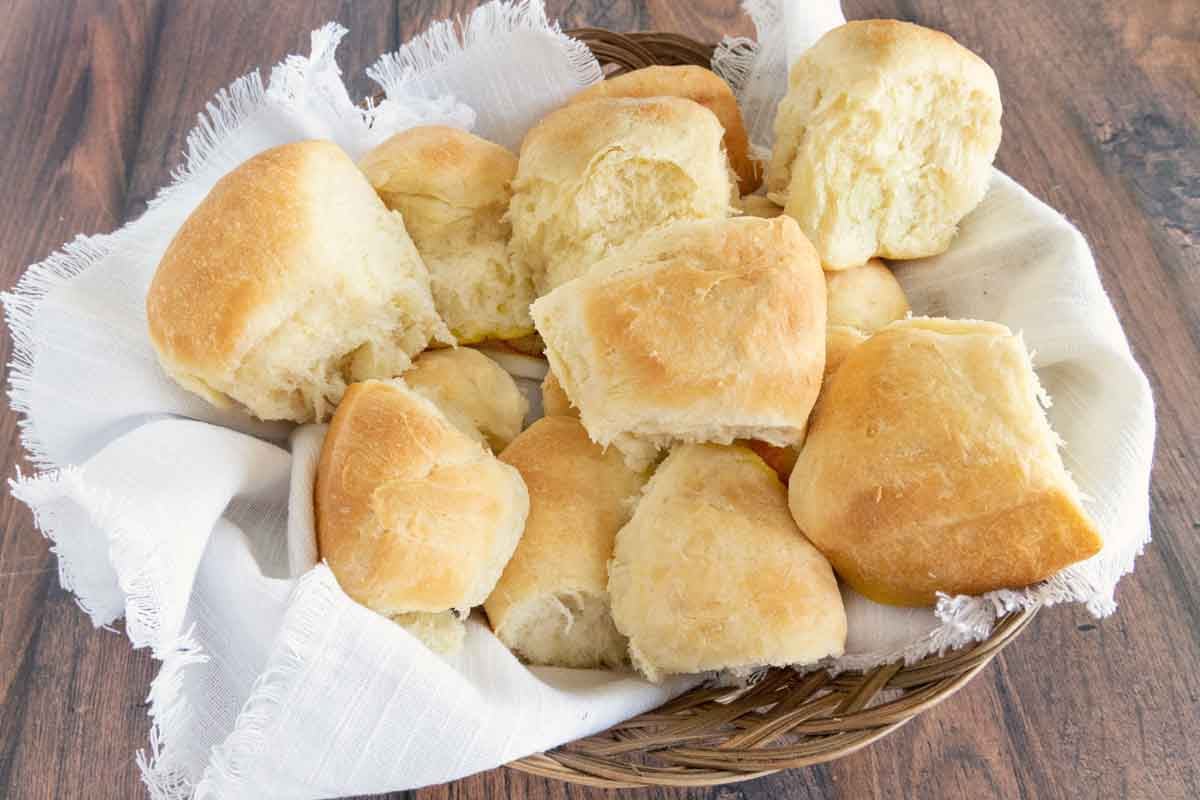
I’ve been making these soft, pillowy dinner rolls most of my life, and my no-fail dinner roll recipe has never let me down. It makes perfect buttery rolls every time. Just a FYI, they’re so good that most of the time, there will be no leftovers.
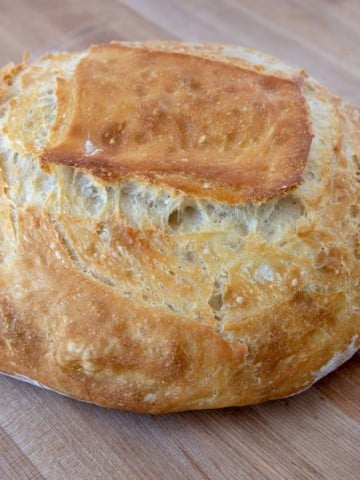
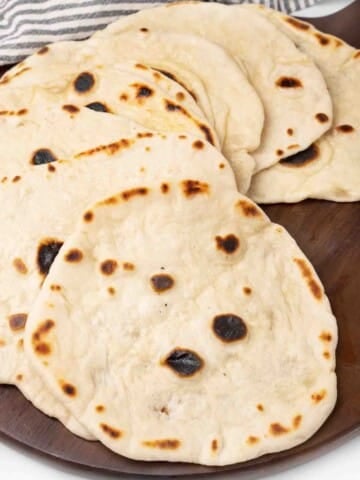
If you love homemade bread make sure to try our Almost No-Knead Artisan Bread recipe and Naan Bread recipe.
Ingredients to Make Classic Dinner Rolls
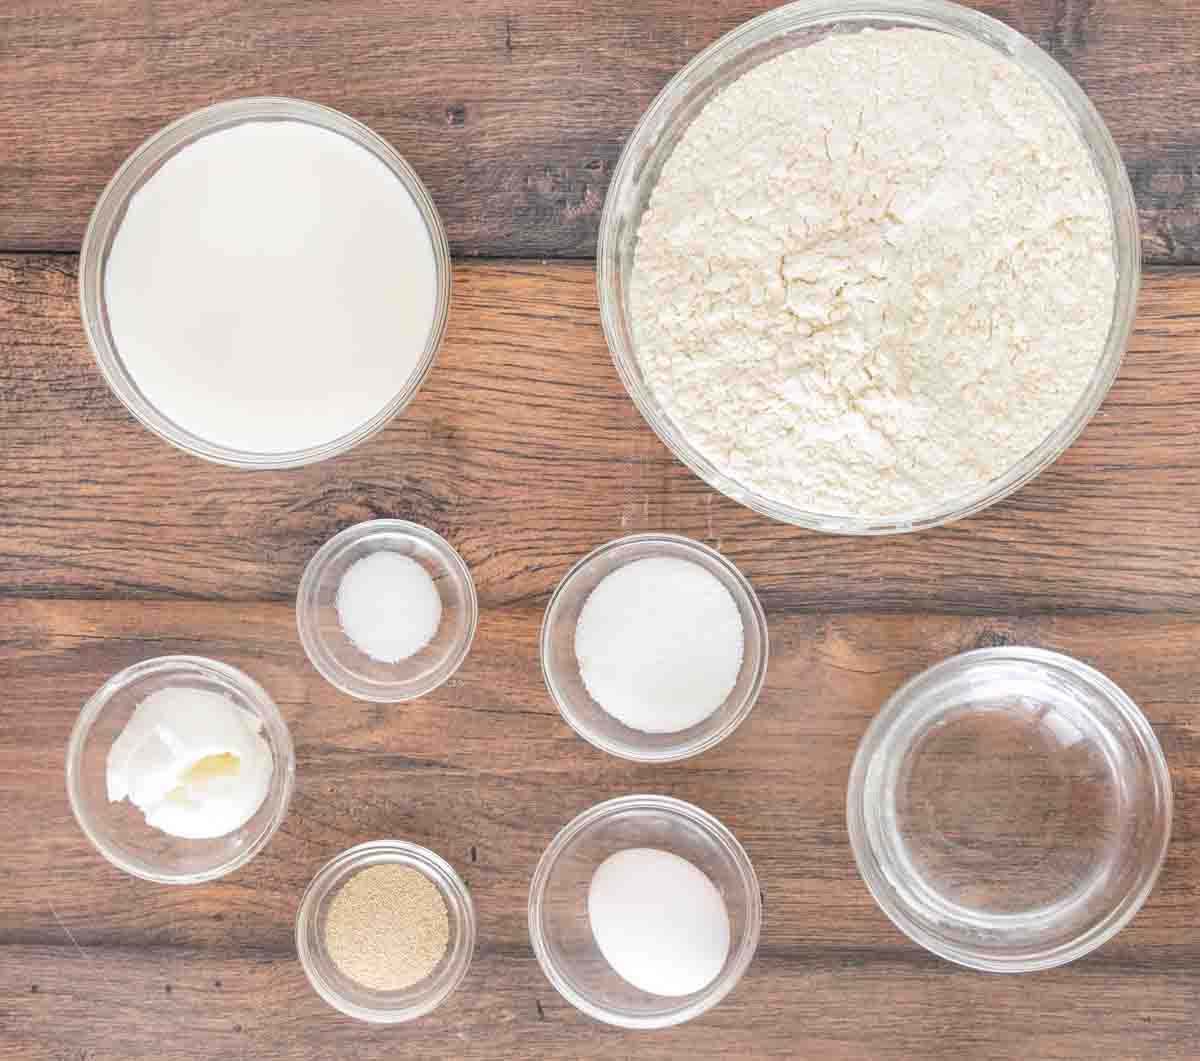
Let’s start by gathering the ingredients we need to make classic dinner rolls. In Chef Speak, this is called the “Mise en Place,” which translates to “Everything in its Place.”
Not only does setting up your ingredients ahead of time speed up the cooking process, it also helps ensure you have everything you need to make the dish.
How to make Dinner Rolls
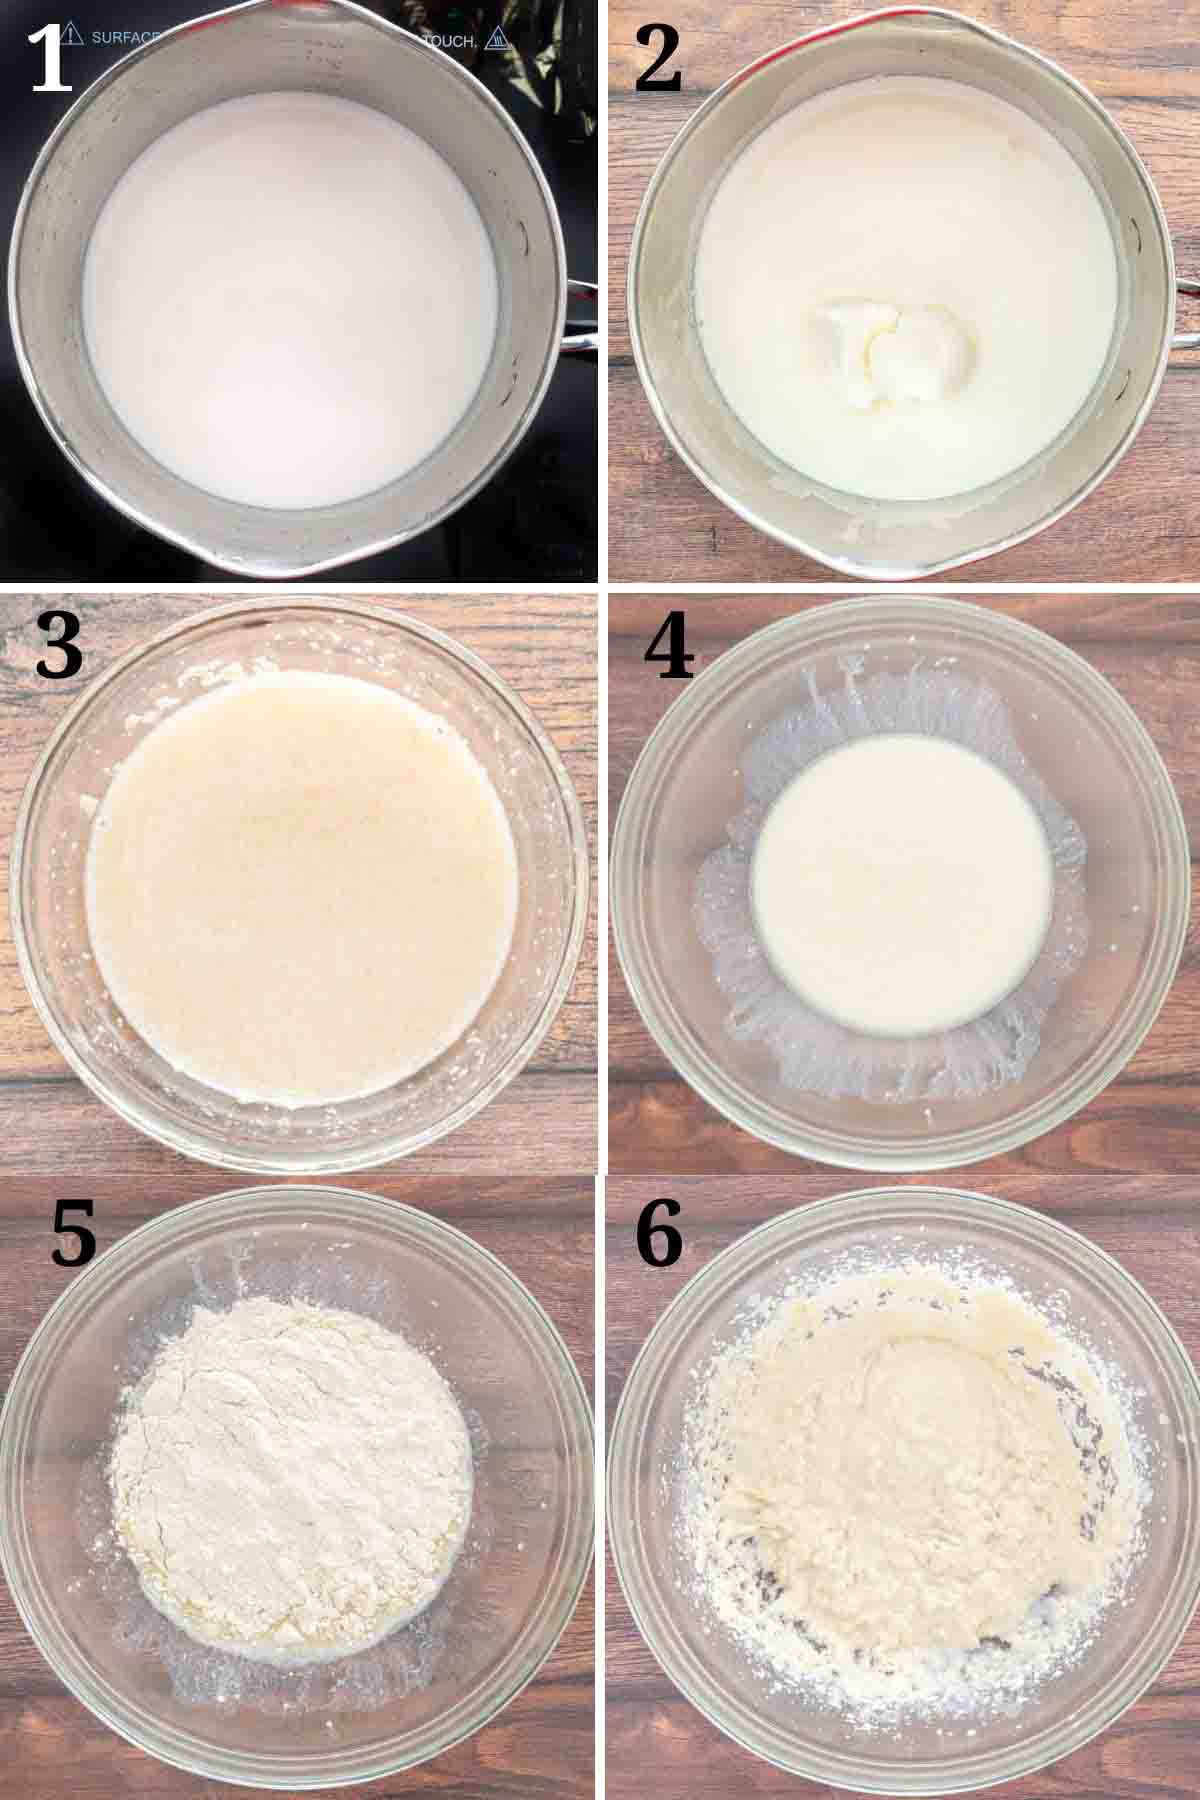
- Add the milk to a small saucepan over medium-high heat and heat milk until hot (about 2-3 minutes). Don’t let the milk boil!
- Remove the pan from the heat and add the granulated sugar, table salt, and shortening. Whisk until the shortening has been fully combined with the warm milk.
- Heat the water to about 100 degrees, then add the active dry yeast to the warm water, mixing to activate the yeast. Let the yeast mixture sit for five minutes, giving it time to bloom.
- Add the milk mixture to the bowl of a stand mixer fitted with a paddle attachment (or a large mixing bowl with an electric mixer)
- Add one cup flour to the mixing bowl.
- Beat for about one minute to combine the flour with the milk.
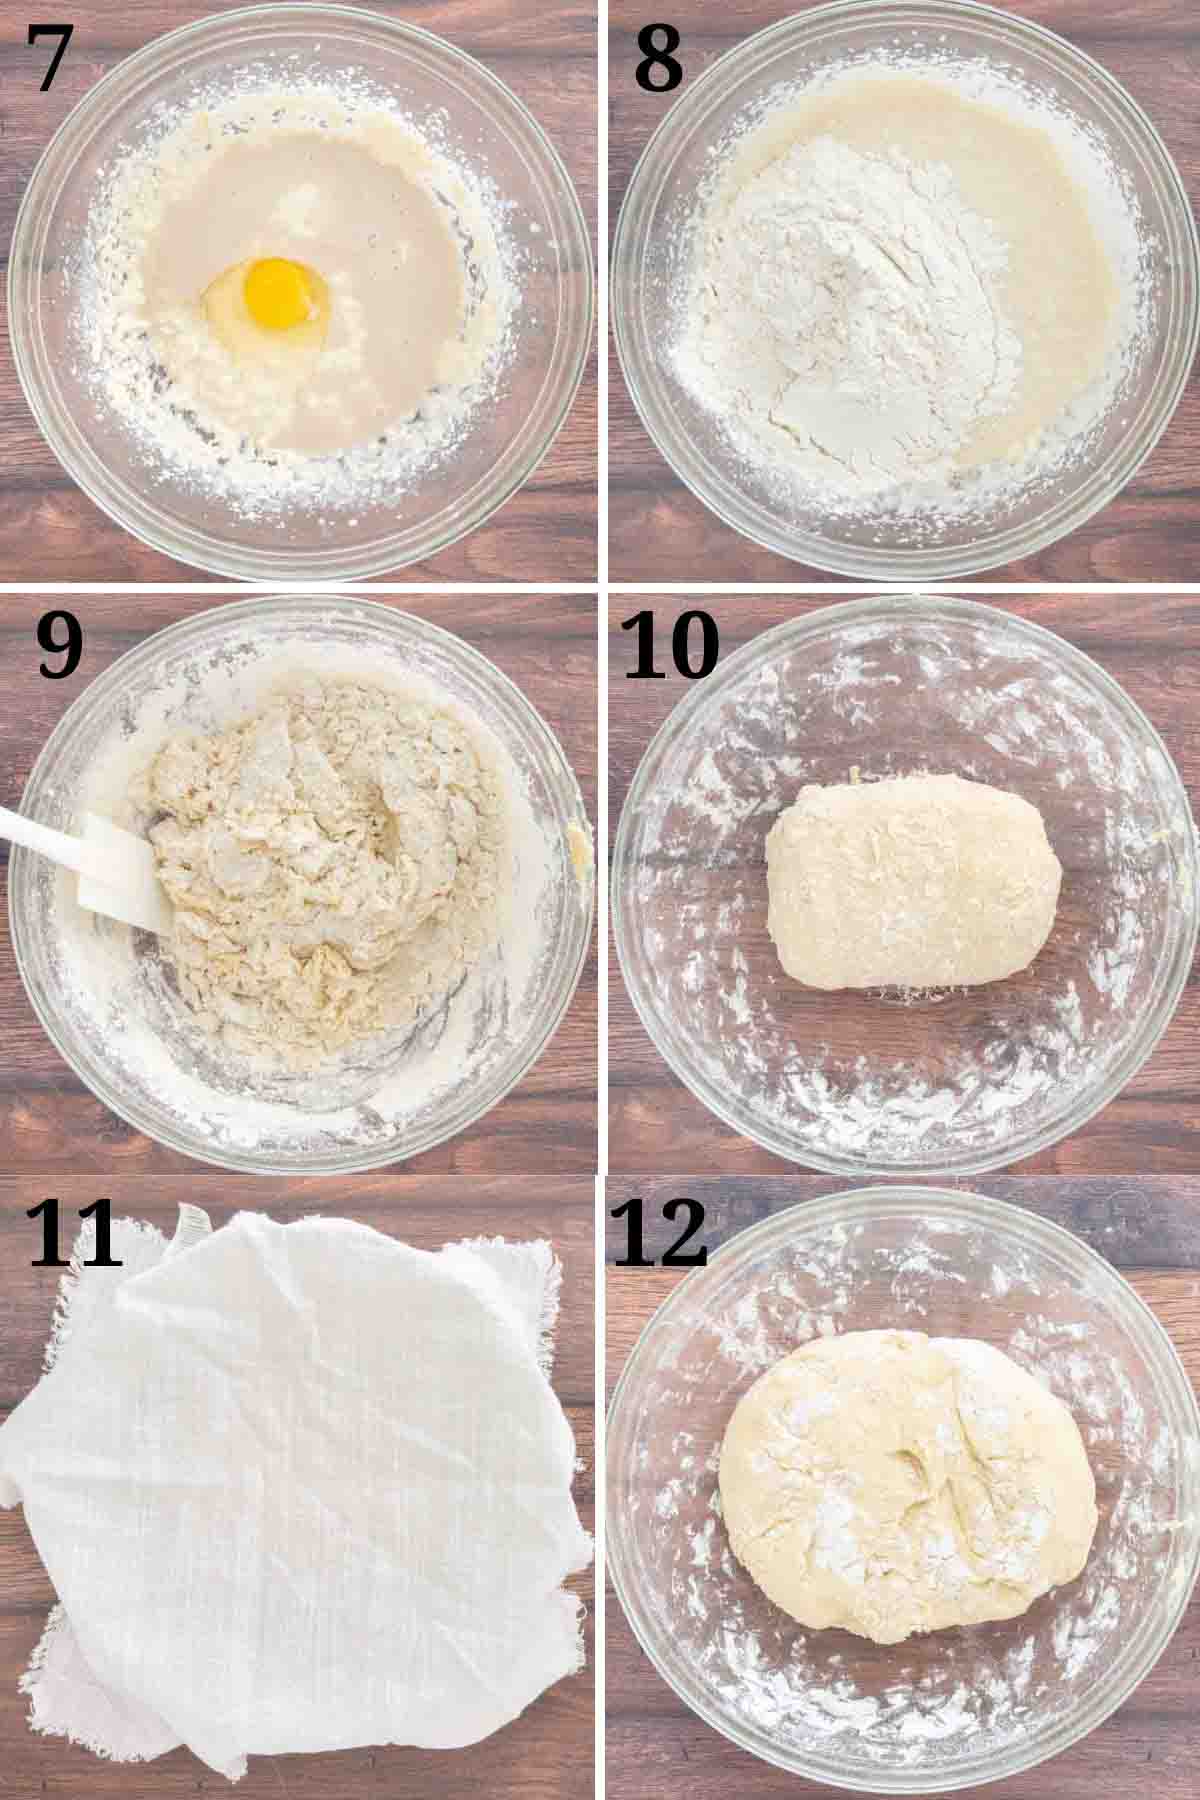
- Add the yeast mixture and room-temperature egg to the bowl and continue mixing for one minute or until everything is combined.
*Make sure to use all of the yeast mixture. - Add the remaining flour to the bowl.
- Mix at low speed to incorporate the flour and make the dough. The dough will be a little sticky.
*Scrape the bottom and sides of the bowl with a rubber spatula as needed. - Lightly dust a large bowl with all-purpose flour (or greased bowl) and add the dinner roll dough to the bowl.
- Cover the dough with a kitchen towel (or plastic wrap).
- Let the dough rise for about an hour to an hour and a half until it has doubled in size.
*Make sure to place the dough in a warm place, out of drafts or cold air.
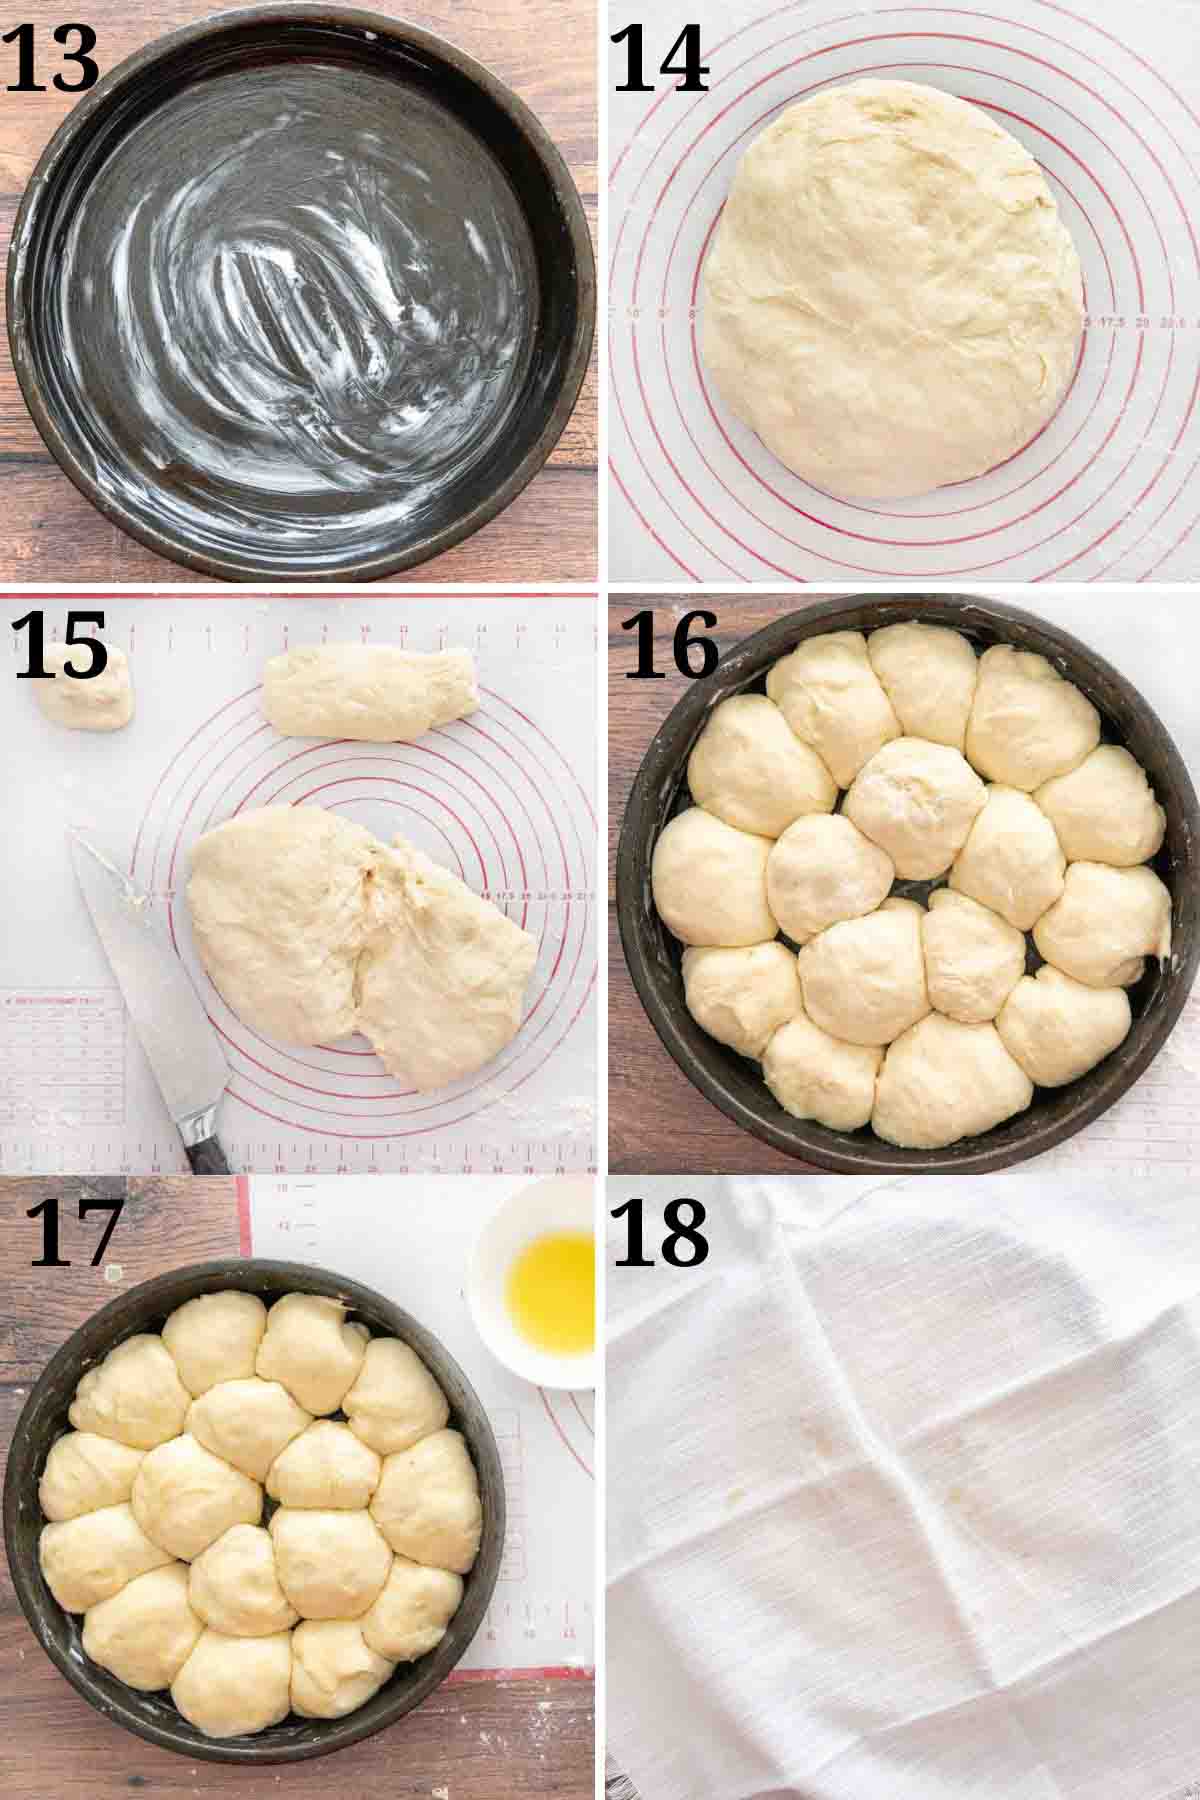
- Lightly grease a round cake pan or baking dish and set aside until needed.
- When the dough has finished rising, remove it from the bowl and place it onto a lightly floured surface (pastry mat or countertop).
*Make sure to start with a clean work surface before working with the soft dough. - Lightly coat the dough with flour and knead the dough by hand 15-20 times to remove the air bubbles, making a smooth dough.
*Keep some extra flour nearby during the cutting and rolling process so you can keep your hands floured. It will make the dough easier to work with. A bench scraper can make the process easier. - Using a sharp knife, divide dough into equal pieces.
*Using a pastry mat is very helpful with this because you want them to be as close to 2” as possible. - Shape the dough into smooth balls and place them close together around the outer edge of your greased round pan.
- Then, continue adding the dough balls until the pan is full.
*I used a cake pan, but you can use a baking dish. - Melt 1-2 tablespoons of butter and, using a pastry brush, coat the top of the homemade rolls with the melted butter.
- Cover the pan with a towel or cloth napkin and allow the dough balls to rise in a warm spot until doubled in size (rising time is about 30-45 minutes).
Preheat the oven to 375 degrees F.
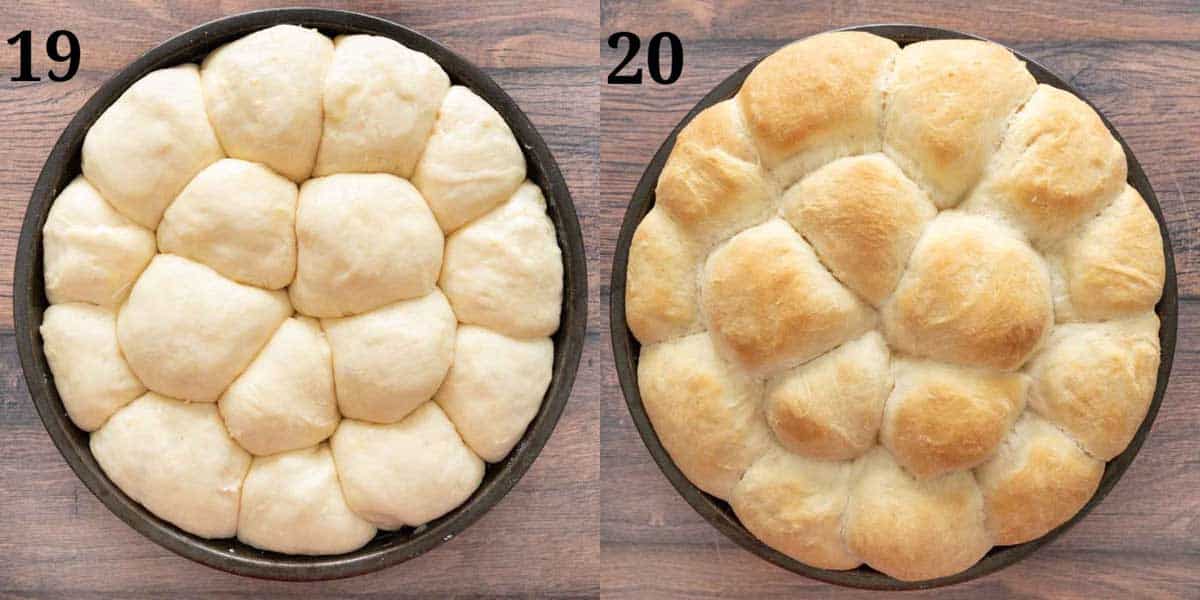
- When the dinner rolls have risen, place the baking pan on the center rack of the preheated oven and bake for 25 to 30 minutes until golden brown.
- Remove the pan from the oven and place the baked rolls on a wire rack to cool.
*For a change of pace, sprinkle sesame seeds or poppy seeds on top of the rolls before baking.
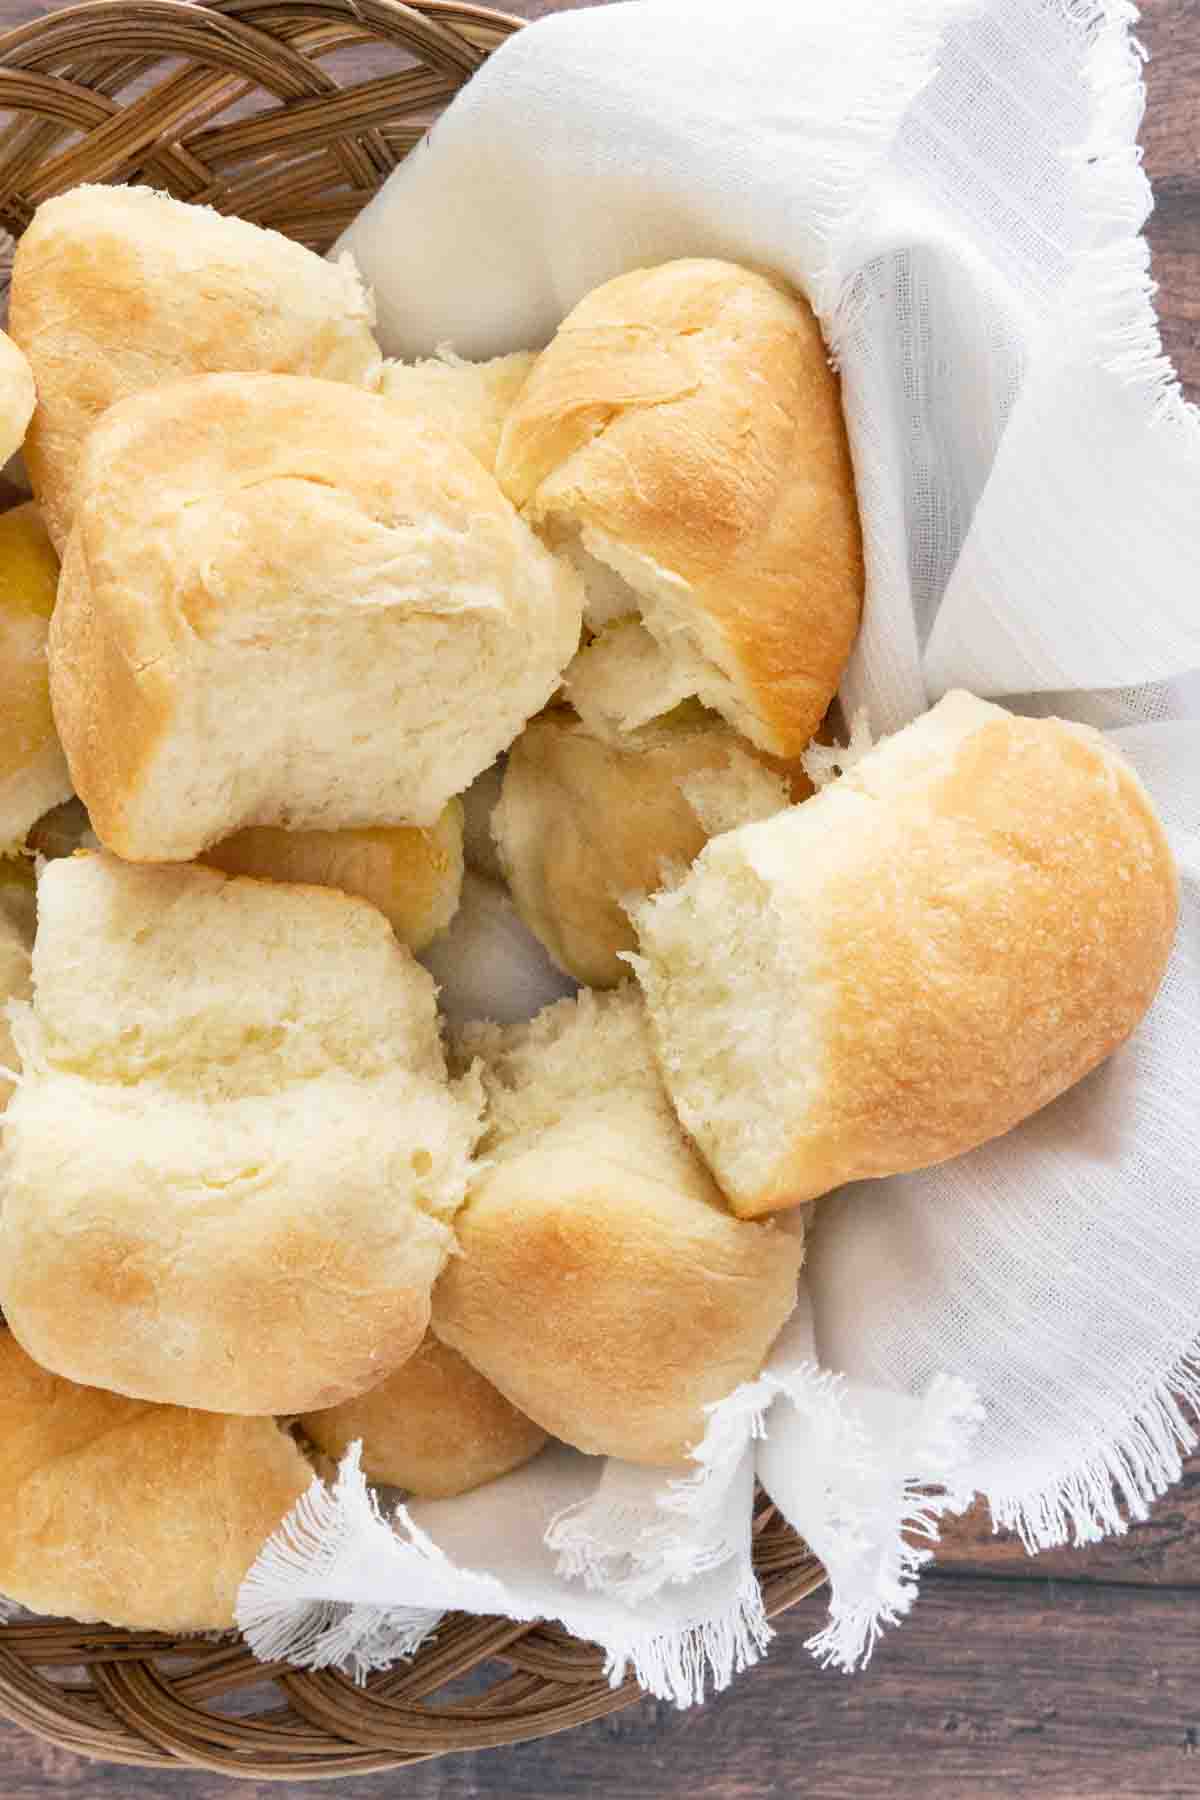
Once cooled, separate the rolls from each other and place the warm dinner rolls in a napkin-lined serving bowl. Don’t forget the salted butter for these pillowy bites of deliciousness!
Store leftover dinner rolls on the countertop in an airtight container for 1-2 days. The rolls freeze well and can be kept in a well-sealed, freezer-safe container for up to two months. To refresh the rolls, warm them in a 325-degree oven for 2-3 minutes.
Recipe FAQ’s
The two main reasons your dinner rolls didn’t come out light and fluffy are: -Too much flour. Either it wasn’t measured correctly or you added too much during the kneading and forming process.
-Overmixing. The more you mix the dough, the more the gluten activates and the tougher the rolls will be.
The other reason could be the type of flour used. Typically bread flour and high protein all purpose flours will not yield the type of roll you are trying to make.
The classic round shape is hard to beat when it comes to dinner rolls, but you can be creative and create other shapes.
Crescents, knots, and cloverleaf rolls can also be made using this recipe.


Charlotte Valitzski says
Made them the day before and did a quick heat up for Thanksgiving dinner. They were light, fluffy and everyone loved them. The recipe was not difficult and as promised.
Chef Dennis Littley says
Thanks for letting me know you enjoyed the dinner rolls, and held up well making them the day before.
Nora Banzhof says
Hi! Love all of your recipes! Can I replace the shortening with butter?
Thanks,
Nora
Chef Dennis Littley says
Yes, you can but you may notice some difference. Butter contains some water, where shortening is all fat. Shortening traps more air bubbles and has a higher melting point than butter, so recipes using shortening tend to produce baked goods with more lift and that hold their shape during baking. Interior texture will also be softer and lighter.
Patty Diamant says
Chef Dennis, I love your recipes!! This classic dinner roll recipe is fabulous! The instructions are easy to follow and my rolls rose beautifully. They turned out light, fluffy, and nicely browned. I’ll be experimenting with different shapes next time. Thank you for sharing your recipes.
Chef Dennis Littley says
Thanks for letting me know you enjoyed the dinner rolls Patty! And you are very welcome, I love sharing my recipes!