My lemon curd has a wonderful fresh lemon flavor with the perfect amount of sweetness to balance the tanginess of the lemon juice. Creamy, smooth, and oh-so-delicious, you’ll find many uses for my easy-to-make lemon curd recipe.
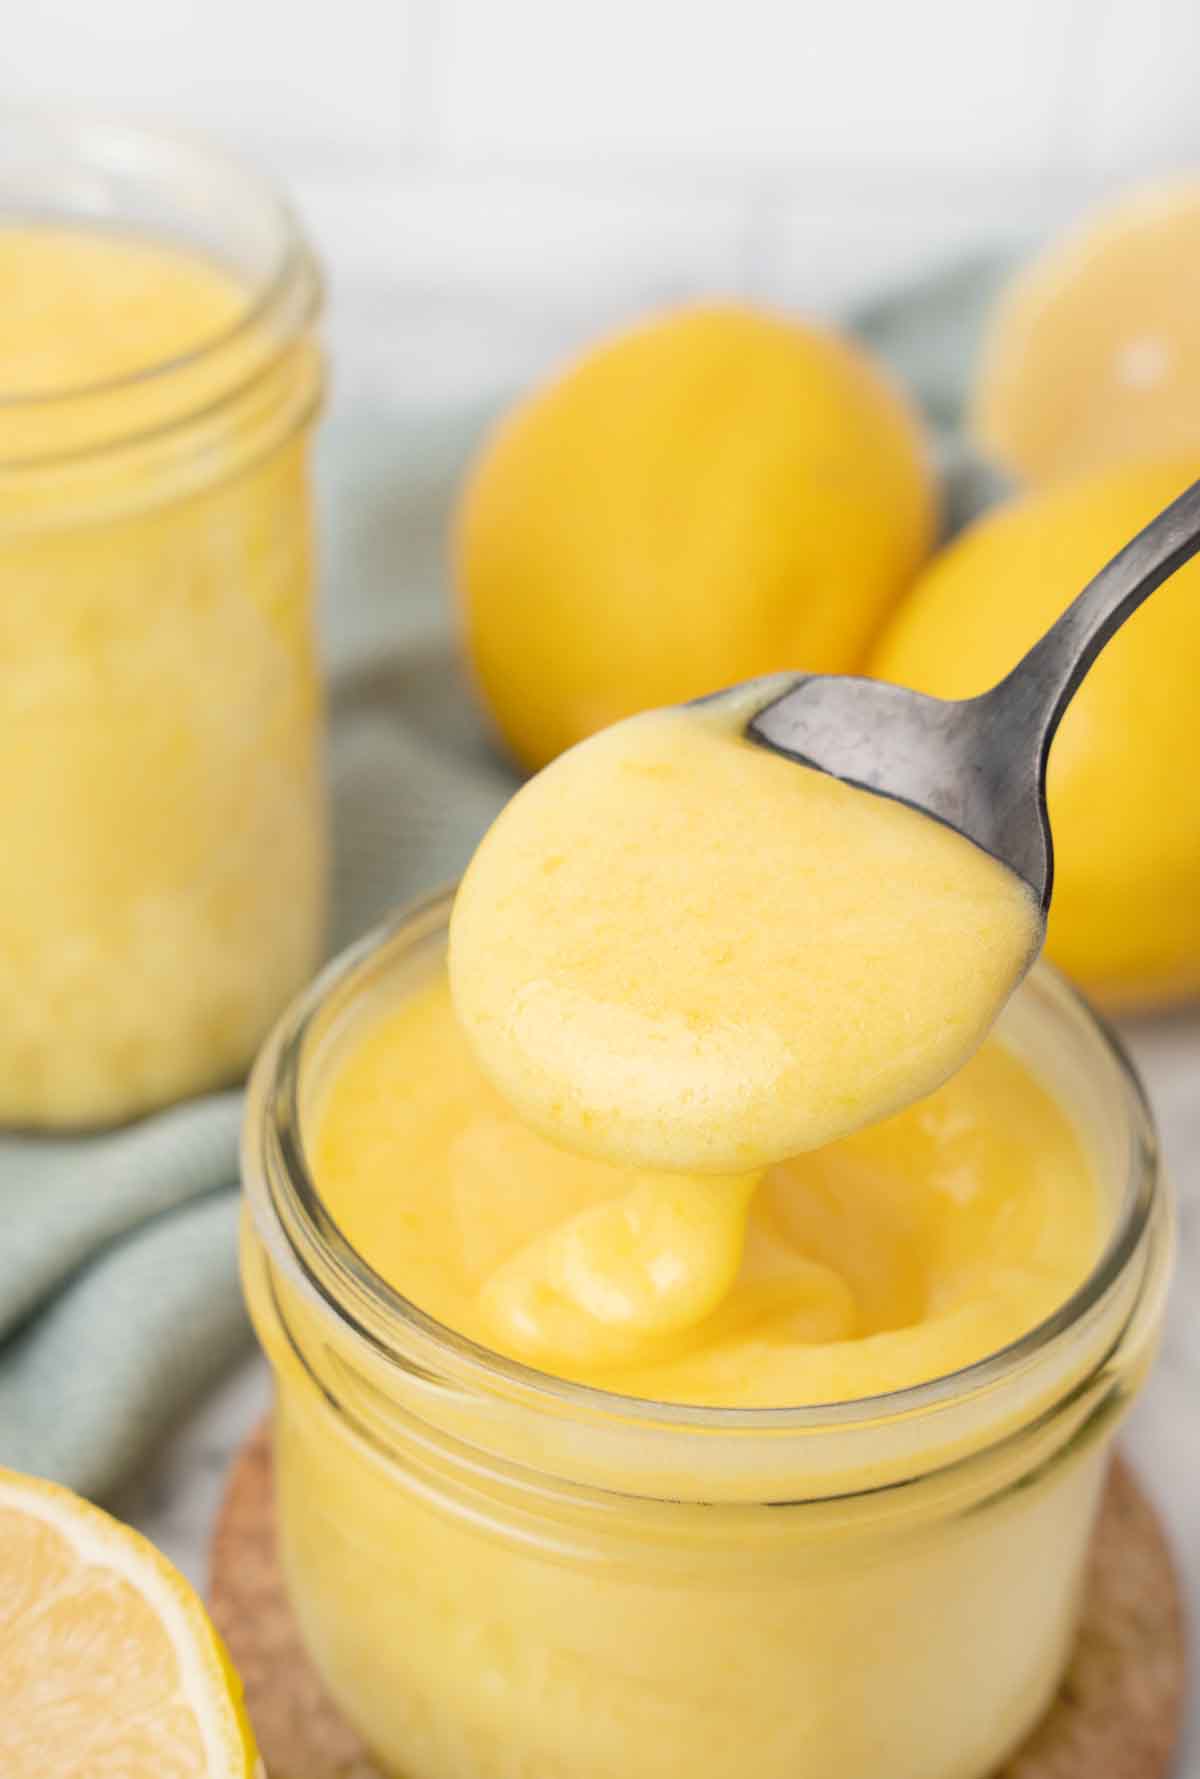
Made with just six simple ingredients, my lemon curd is a lemon lovers dream come true. You’ll find so many delicious uses for this tart, sweet curd that I wouldn’t be surprised if you make it 3 or 4 times a month.
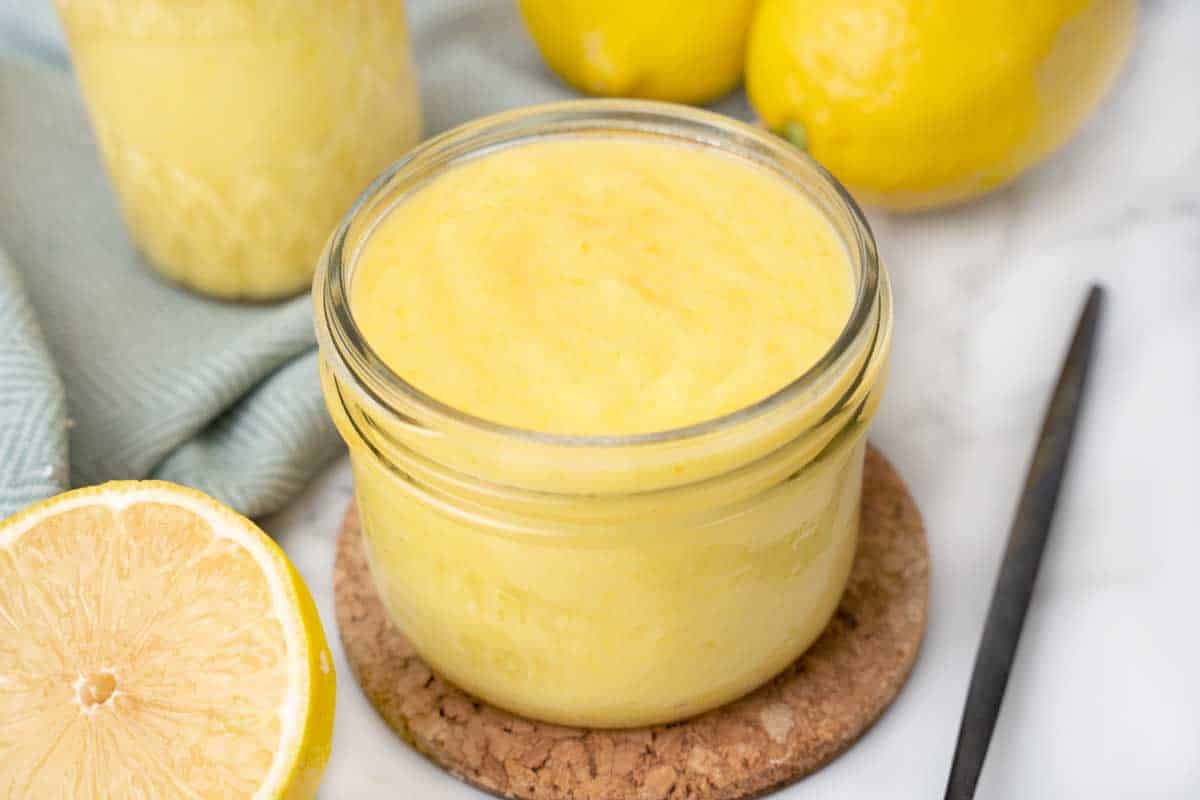
Making your own Lemon Curd Recipe is easier than you think, and it tastes better than store-bought. And after one taste, I know you’ll agree that this is the very best homemade lemon curd recipe!
If you love the flavor of fresh homemade lemon curd, check out my Classic Lemon Tart.
Ingredients to make Lemon Curd
Let’s start by gathering the ingredients we need to make Lemon Curd. In Chef Speak, this is called the “Mise en Place,” which translates to “Everything in its Place.”
Not only does setting up your ingredients ahead of time speed up the cooking process, it also helps ensure you have everything you need to make the dish.
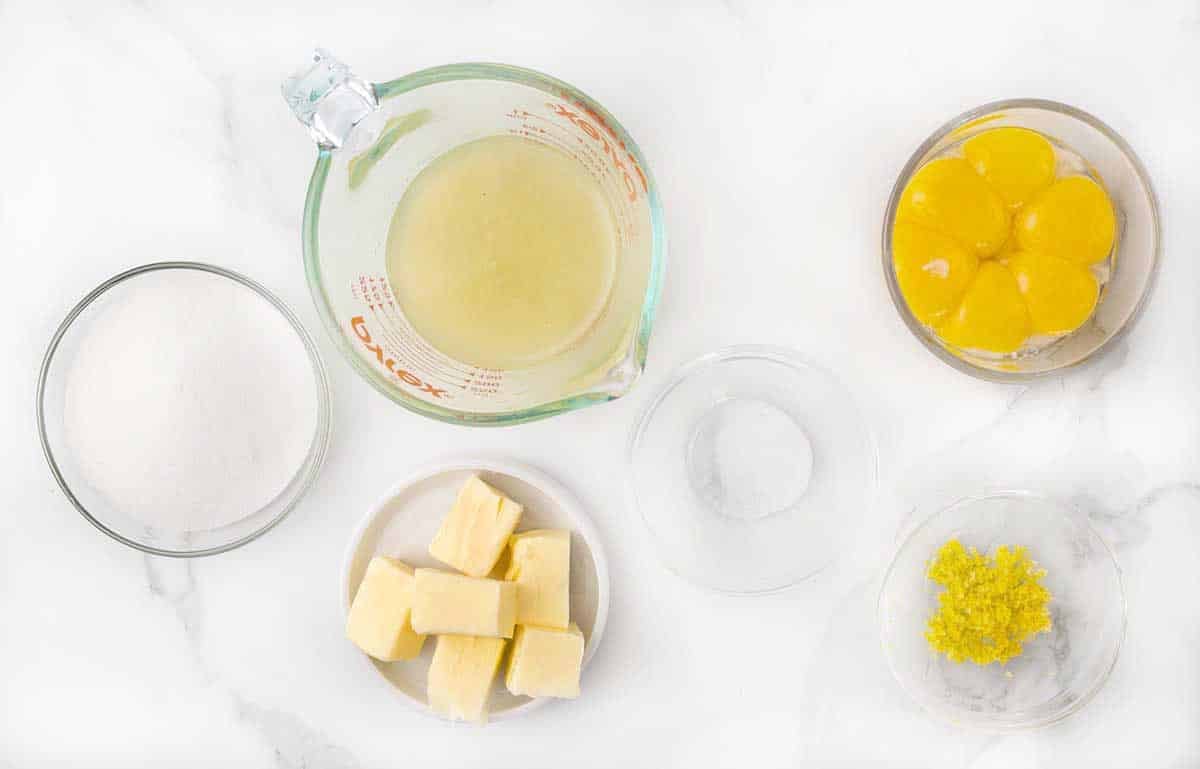
Made with simple ingredients
- fresh lemon juice (don’t use bottled lemon juice)
- egg yolks
- unsalted butter
- granulated sugar
- lemon zest
- salt
*Save the egg whites from the whole eggs to make a meringue or egg white omelet.
Can I use another citrus to make curd?
You sure can. Limes, oranges, tangerines, and grapefruit curd are all delicious options. Just replace the juice and zest with whichever citrus fruit you decide to use, including blood oranges, key limes, and Meyer lemons.
How to make Lemon Curd
Using the double boiler method: Place a heatproof bowl over a saucepan with about one inch of water over high heat. When the water begins to boil, reduce the heat to low to let the water simmer.
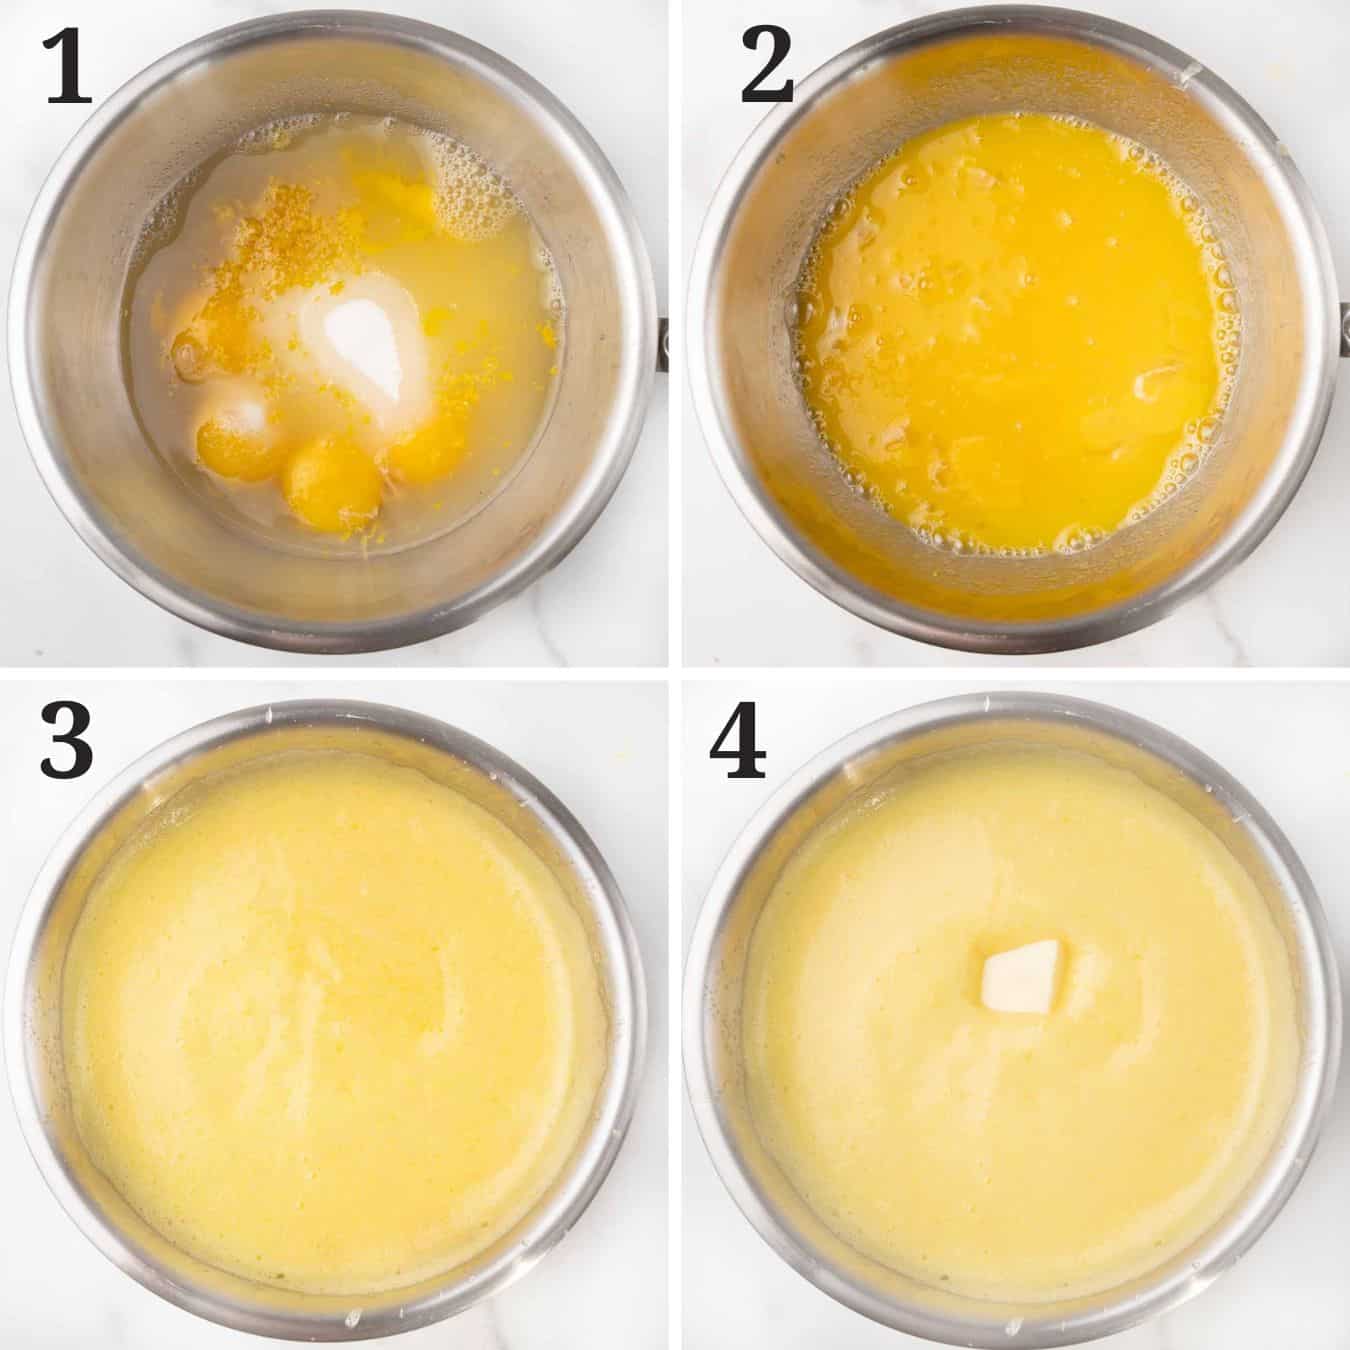
- Add the egg yolks, granulated sugar, lemon zest, lemon juice, and salt to the bowl on top pot of the saucepan (double boiler).
- Whisk the mixture until thoroughly blended, making sure to get down to the bottom of the pan. Continue to whisk as the curd cooks. Whisking will help keep the curd from curdling.
- Whisk over the heat until the mixture becomes thick, about 10 minutes. *If the curd isn’t thickening, turn up the heat a little and keep whisking.
- Remove the pan from heat. And add the butter pieces to the mixture one at a time. Whisk them into the lemon curd. *The heat of the curd will melt the butter
Place the curd in a bowl or jar for storage and place a piece of plastic wrap directly on top of the curd so a skin does not form. The curd will continue to thicken as it cools.
Once the curd has been fully cooled and refrigerated for a few hours, you can remove the plastic wrap and store it in a well-sealed container.
Some recipes call for a fine-mesh strainer, but I don’t think you need to strain the curd unless you want it completely smooth.
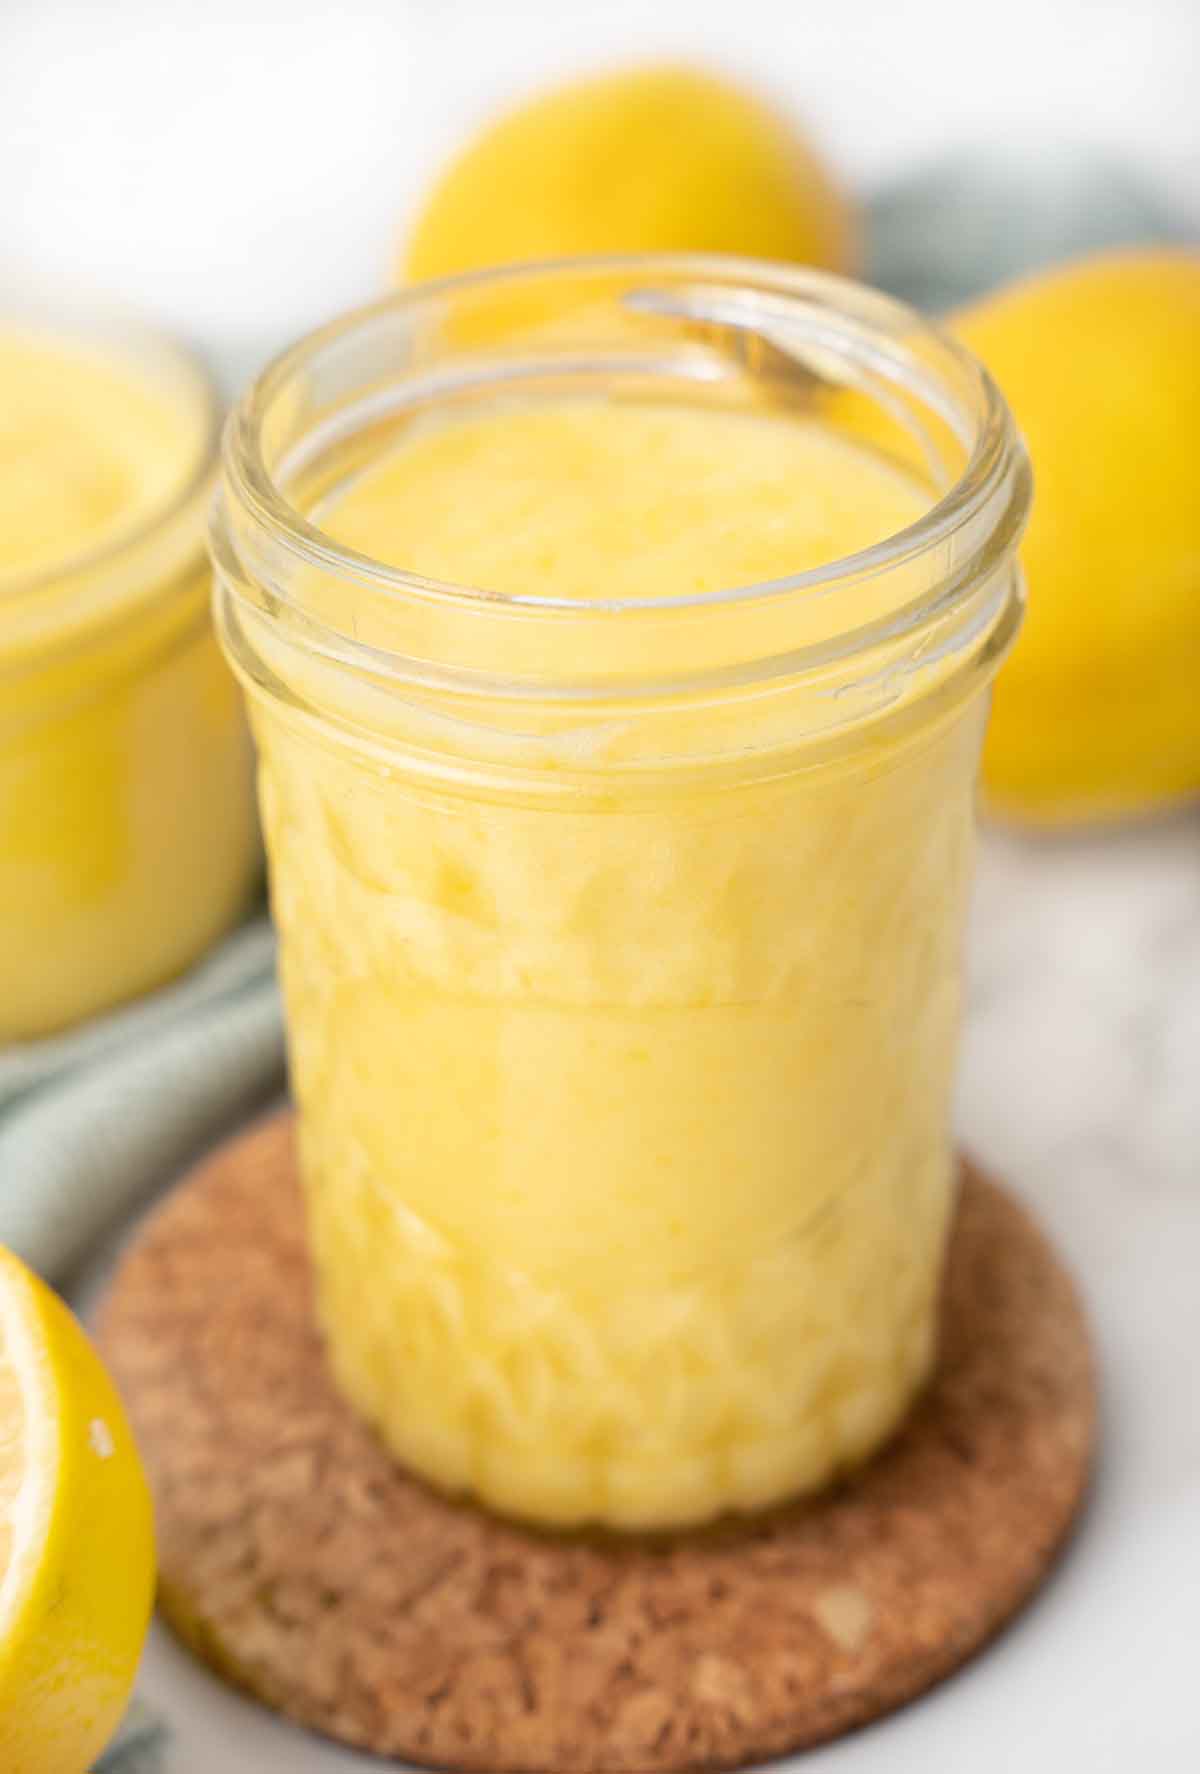
This is the best lemon curd I’ve ever made, and I’ve tried many recipes over the course of my career as a chef. Try it as a filling between cake layers, to make a lemon meringue pie, or as a topping for angel food cake or pound cake. This will definitely become one of your favorite lemon recipes.

My easy lemon curd has many delicious uses, like this delicious lemon tart. It’s the perfect summertime dessert or a great lemon dessert to make the winter months seem more bearable.
Recipe FAQ’s
Lemon curd makes a delicious topping served with scones, pancakes, waffles, ice cream, cheesecake, and pound cakes.
It can be used as a pie filling, between cake layers, as a filling for crepes and donuts, or as a filling for macarons.
If your lemon curd turns green, it’s more than likely due to a chemical reaction caused by the pan you were using. Copper pans and aluminum pans will react with the lemon juice and cause discoloration in the lemon curd and could even cause a slightly metallic aftertaste.
According to the National Center for Home Food Preservation, lemon curd that is kept well sealed in an airtight container in your refrigerator will last for up to four weeks. Lemon curd can also be frozen, leaving half an inch of air space in a well-sealed container for up to three months.



Leave a Comment