I’ve been making no-knead homemade artisan bread for the last 15 years, and it’s always been good but never quite what I hoped it would be. It just wasn’t quite right.
Of course, it was still delicious, and we enjoyed the homemade bread, but it always left me thinking it could be better.
I’ve experimented with different quantities of yeast and salt. I’ve added sugar, honey, and other types of flour to the recipe in my quest for the perfect no-knead bread recipe.
One day, I was watching a sourdough bread video. It was way too much work for a loaf of bread, but the technique used to knead the dough intrigued me. So, I thought I would try that method with my much easier-to-make no-knead bread recipe.
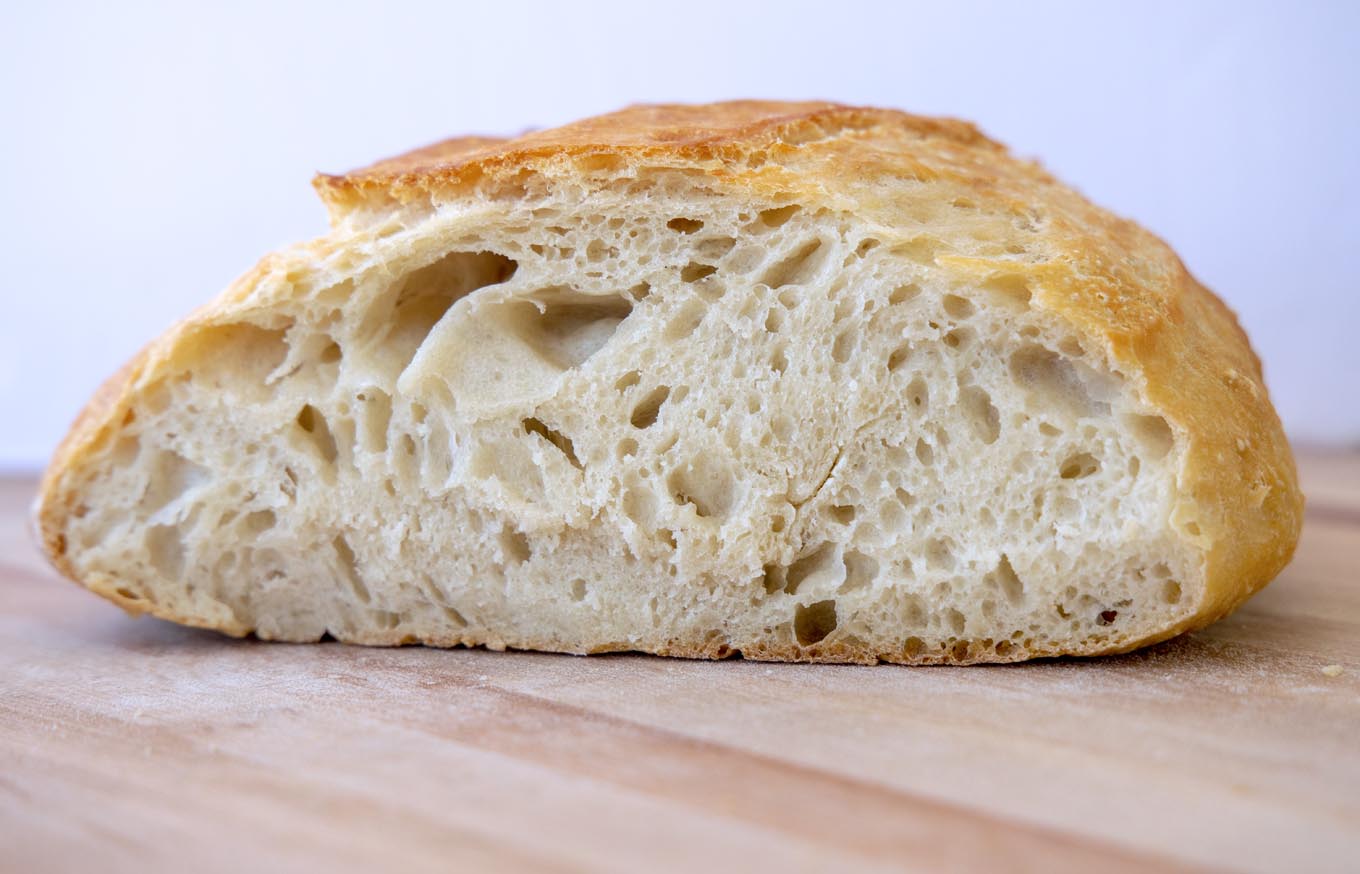
And it was amazing! The results finally yielded the bread I’ve been hoping to make for the last 15 years. It does require a small amount of kneading, but it’s pretty darn easy to make.
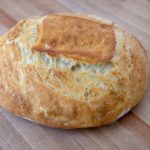
See all those little air holes? That’s what I’ve been missing in my no-knead bread all these years! It has a nice crisp crust, a lighter texture, and a wonderful flavor.
Ingredients to make Artisan Bread?
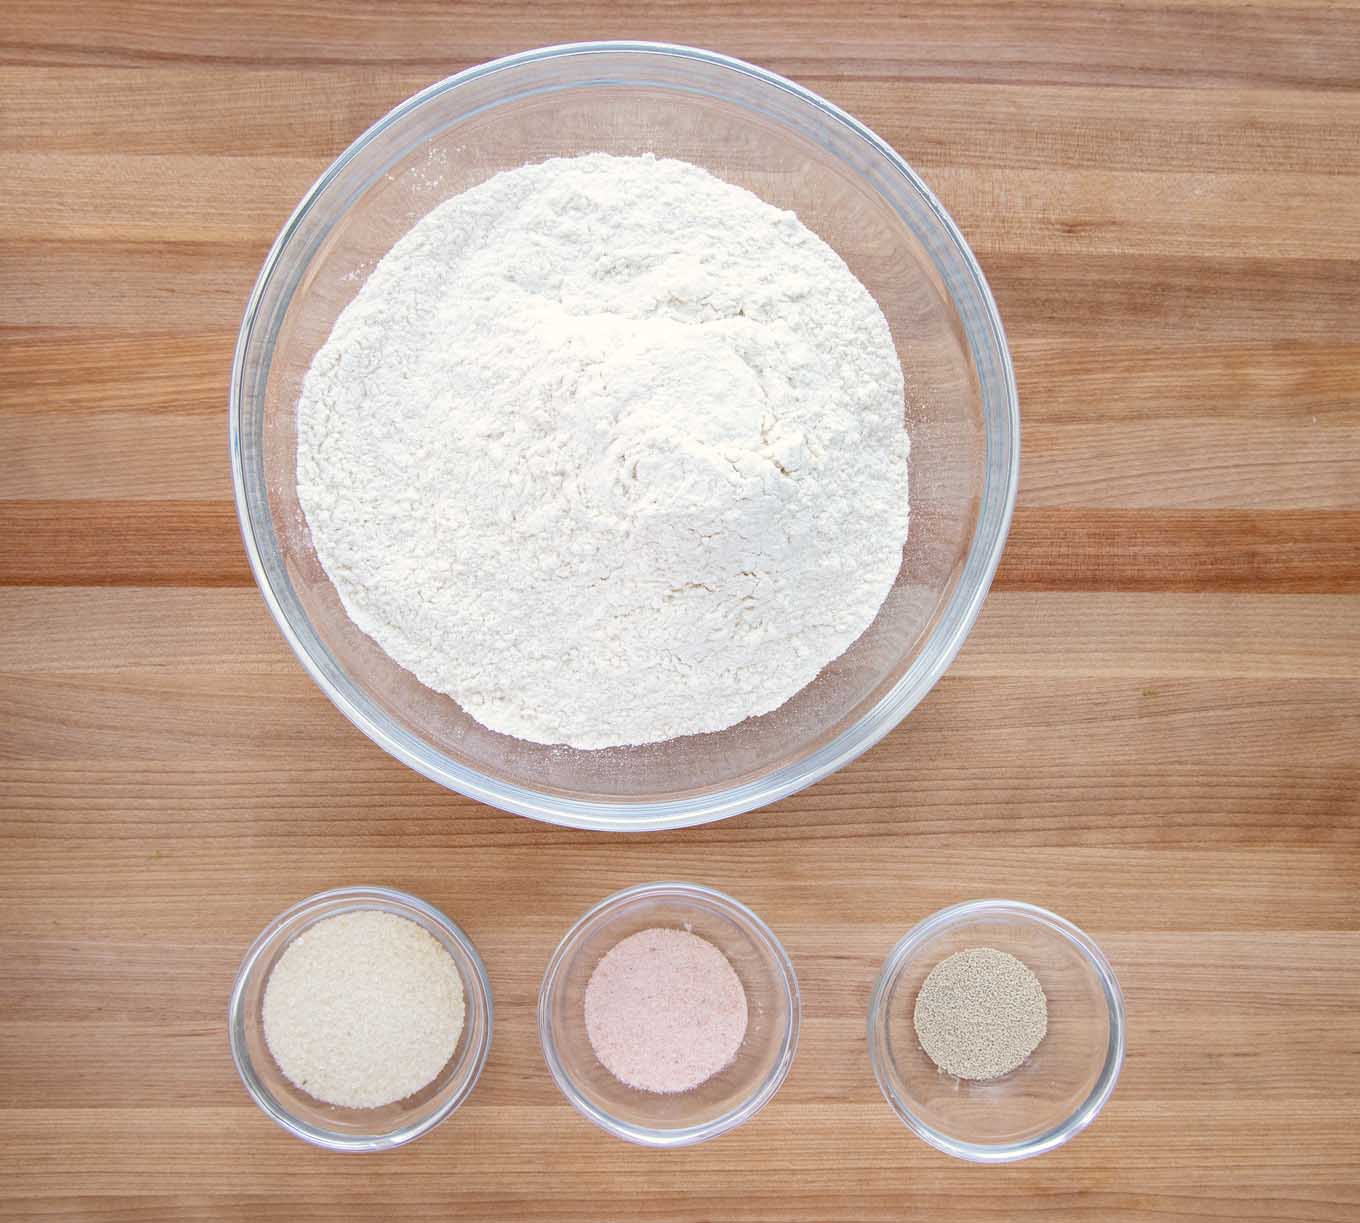
It’s a very short list of ingredients to make this perfect loaf of homemade artisan bread. All-purpose flour, sea salt, yeast, and sugar are the only ingredients you need.
I use Sherpa Pink Himalayan Salt in my kitchen. The other products I use are King Arthur Flour, Active Dry Yeast and Natural Cane Sugar.
Why do I need sugar in my Bread Recipe?
That’s a good question and one I had pondered until I spoke with a master baker about what each ingredient did to make the end result in the bread I wanted.
Sugar has quite a few jobs and provides substantial improvements to yeast bread. It’s not an essential ingredient, but it helps make a better loaf of bread.
- Sugar provides an additional source of food for the yeast. The yeast converts this food to carbon dioxide and alcohol
- Sugar (like salt) enhances the flavor of the bread
- Sugar helps give the crust that golden color we love
- Sugar improves the crumb texture of the bread
- Sugar helps retain moisture in bread and slows down the formation of gluten strands, which helps keep the bread fresher longer
Will sugar make the bread sweet?
That’s a great question, and the answer is no. We are not using enough sugar to make this sweet bread. You won’t even notice it’s in the bread.
Why do I need salt in my homemade bread?
- Salt regulates the rate of yeast activity. It provides a slow and steady rise, which is even more crucial in this semi-no-knead bread. The slower rise gives the yeast time to develop the characteristic bread flavors we love
- Salt also strengthens the gluten structure of bread dough. It keeps the trapped carbon dioxide bubbles from expanding too quickly
- Salt makes bread taste better
How to make Artisan Bread
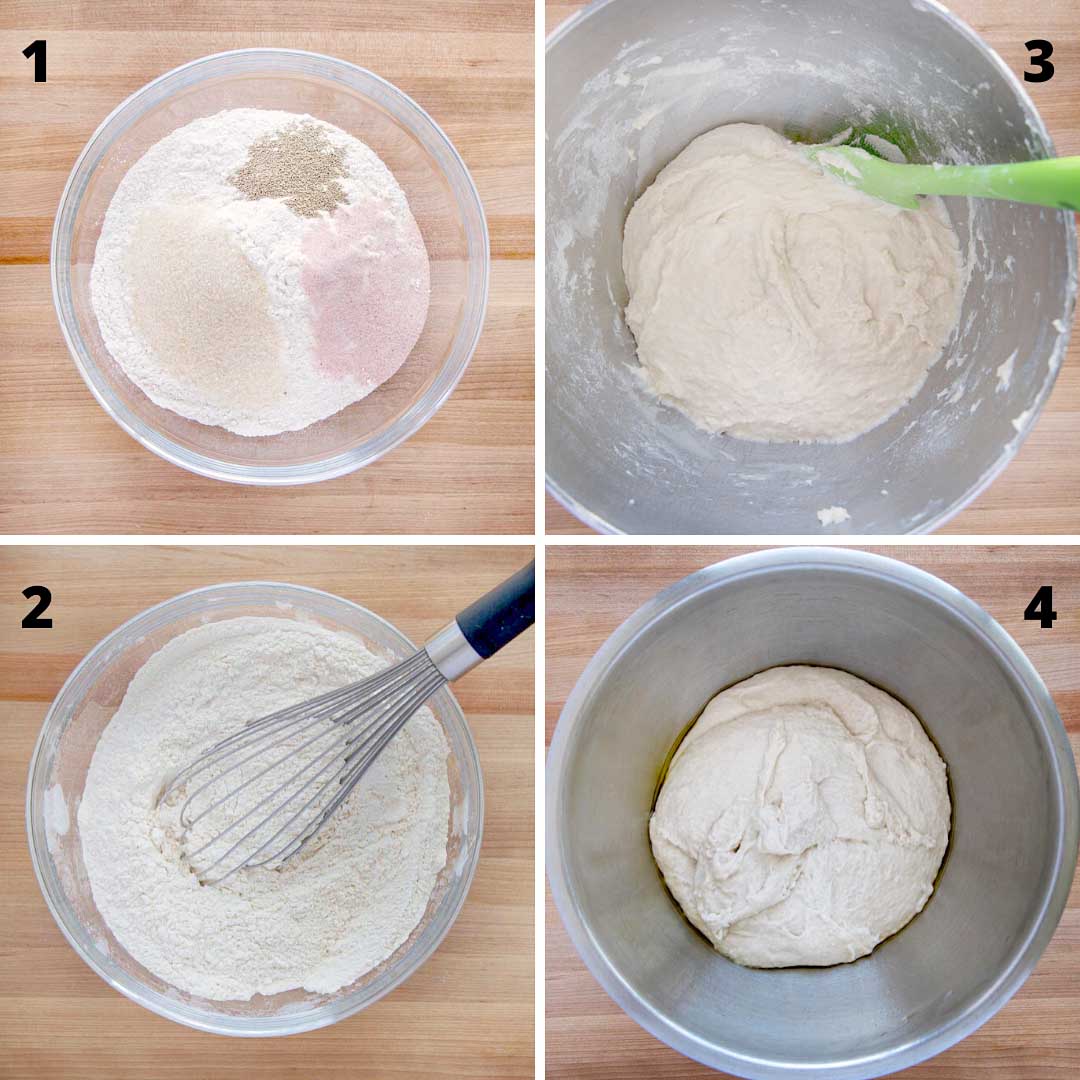
The process is fairly simple. It only takes about 10 minutes to make the bread dough and set it up for the first rise.
Following the recipe, add the salt, sugar, and yeast to the flour, whisking it all together to ensure equal distribution.
Then in a stand mixer (or by hand) add in the water. Depending upon the brand of flour you use, you may need a little less or a little more water. So start with about ¾’s of the water adding more if needed. The dough should be a little wet and sticky.
The last step is to place the bread dough in an oiled bowl and cover it with plastic wrap. Place the bowl on your counter away from drafts for the initial rise.
The rise time will be 12 -16 hours.
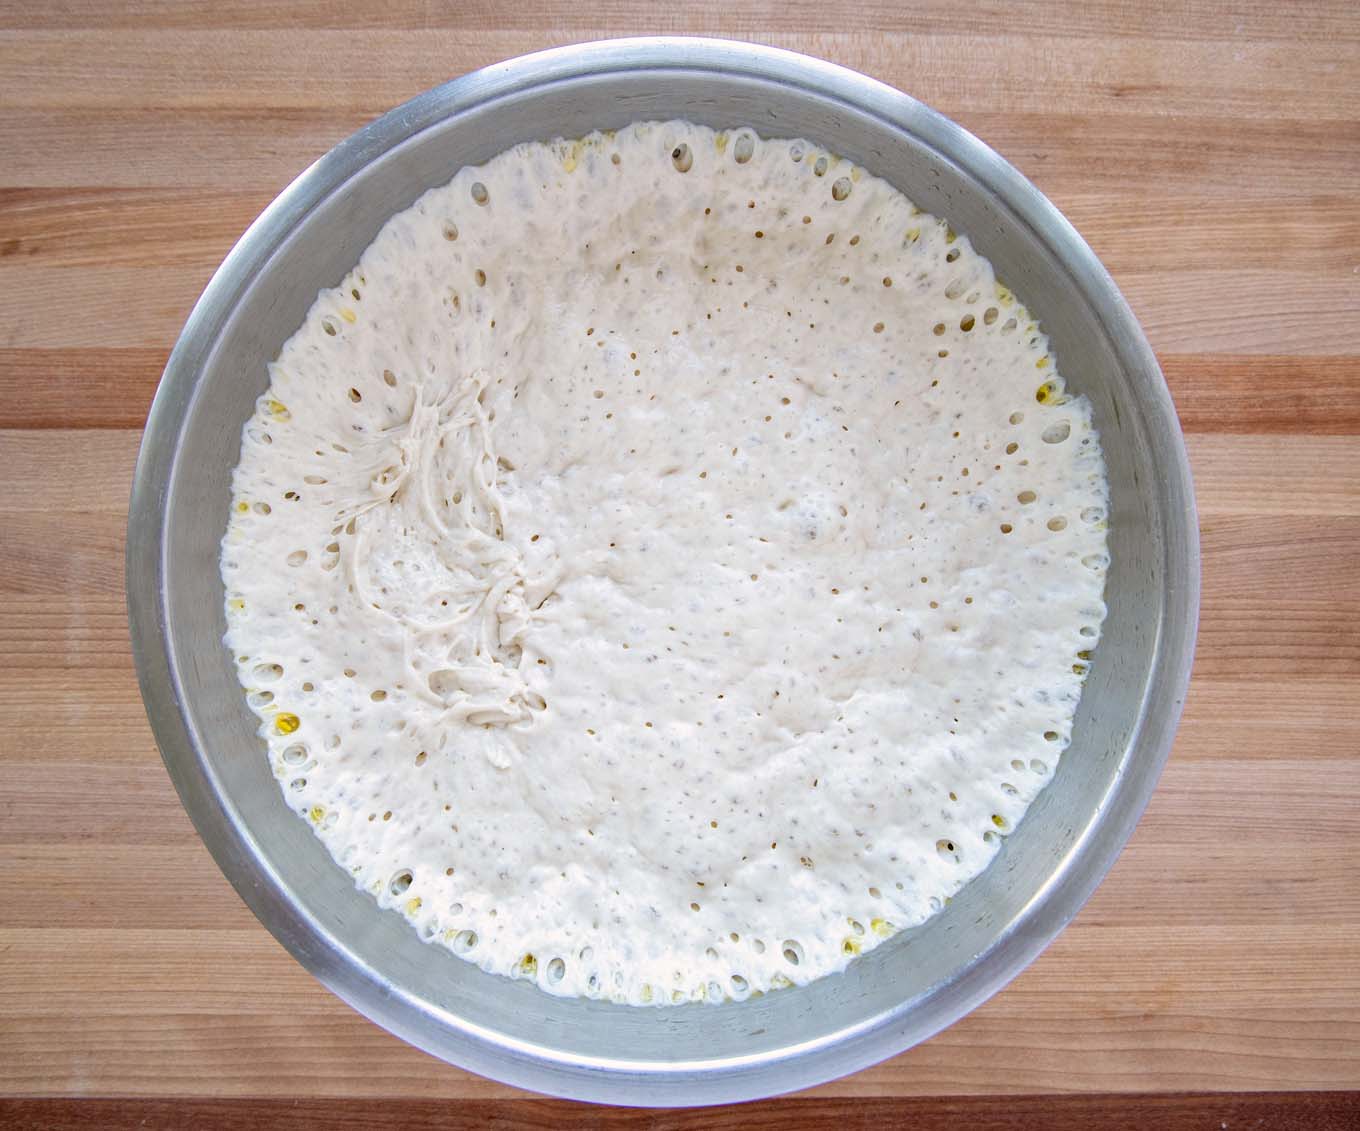
When the first rise is done, the bread dough should look like this. The dough may rise a little more than it falls a little. That’s normal; don’t worry.
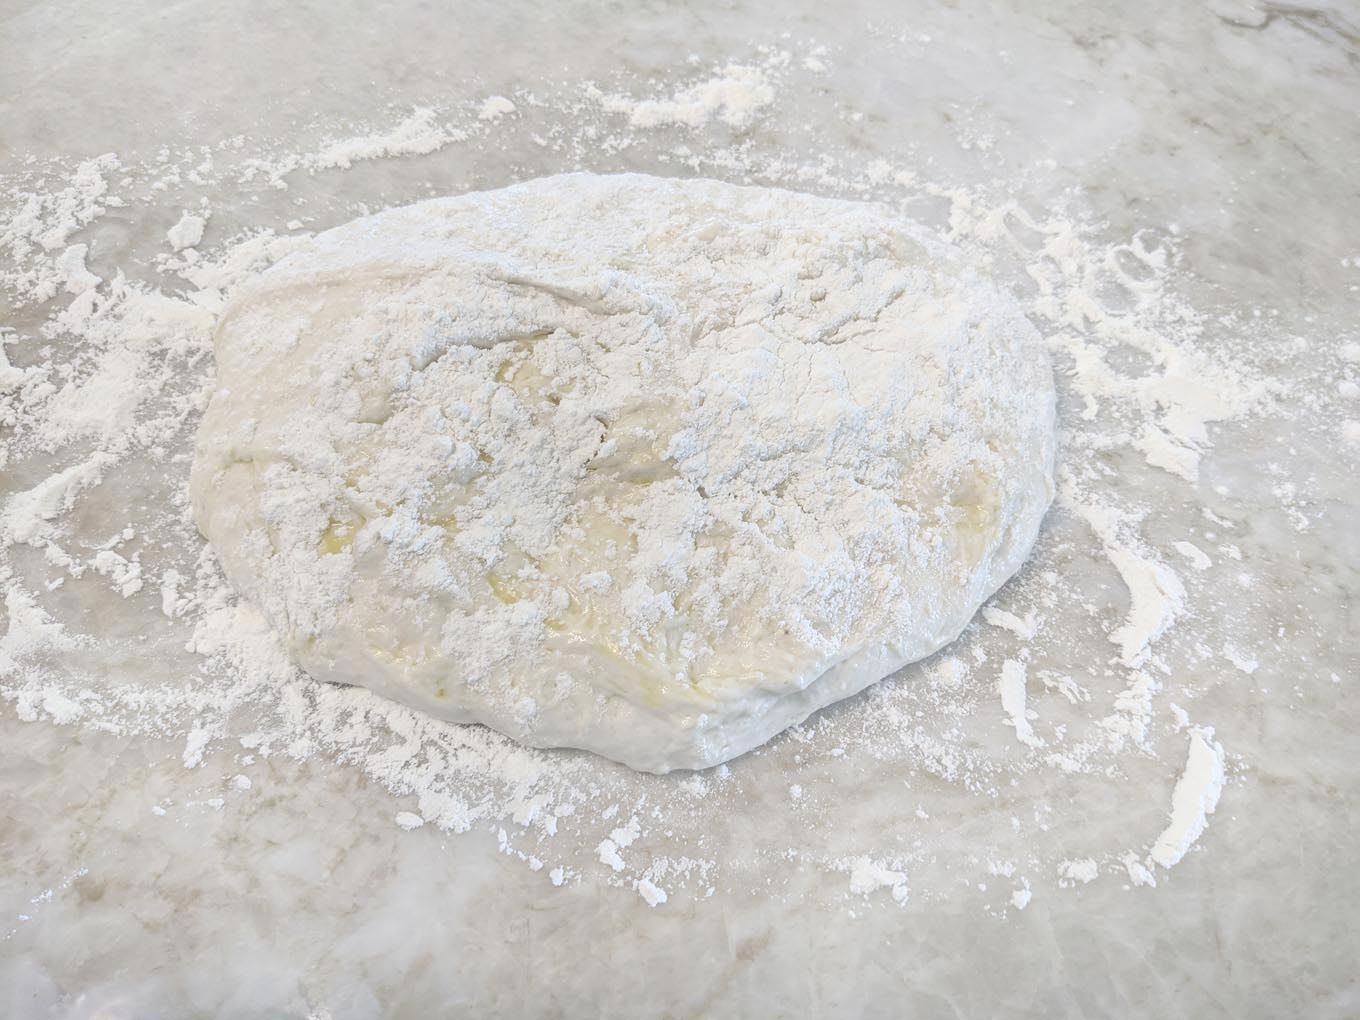
The first step is to lightly flour a countertop and place the bread dough on the floured area. At this point, you will begin adding additional flour until the dough is no longer wet and sticky.
You don’t want the dough completely dry, but it should be easy to work with when you’ve added enough flour. This should take you about 5 minutes.
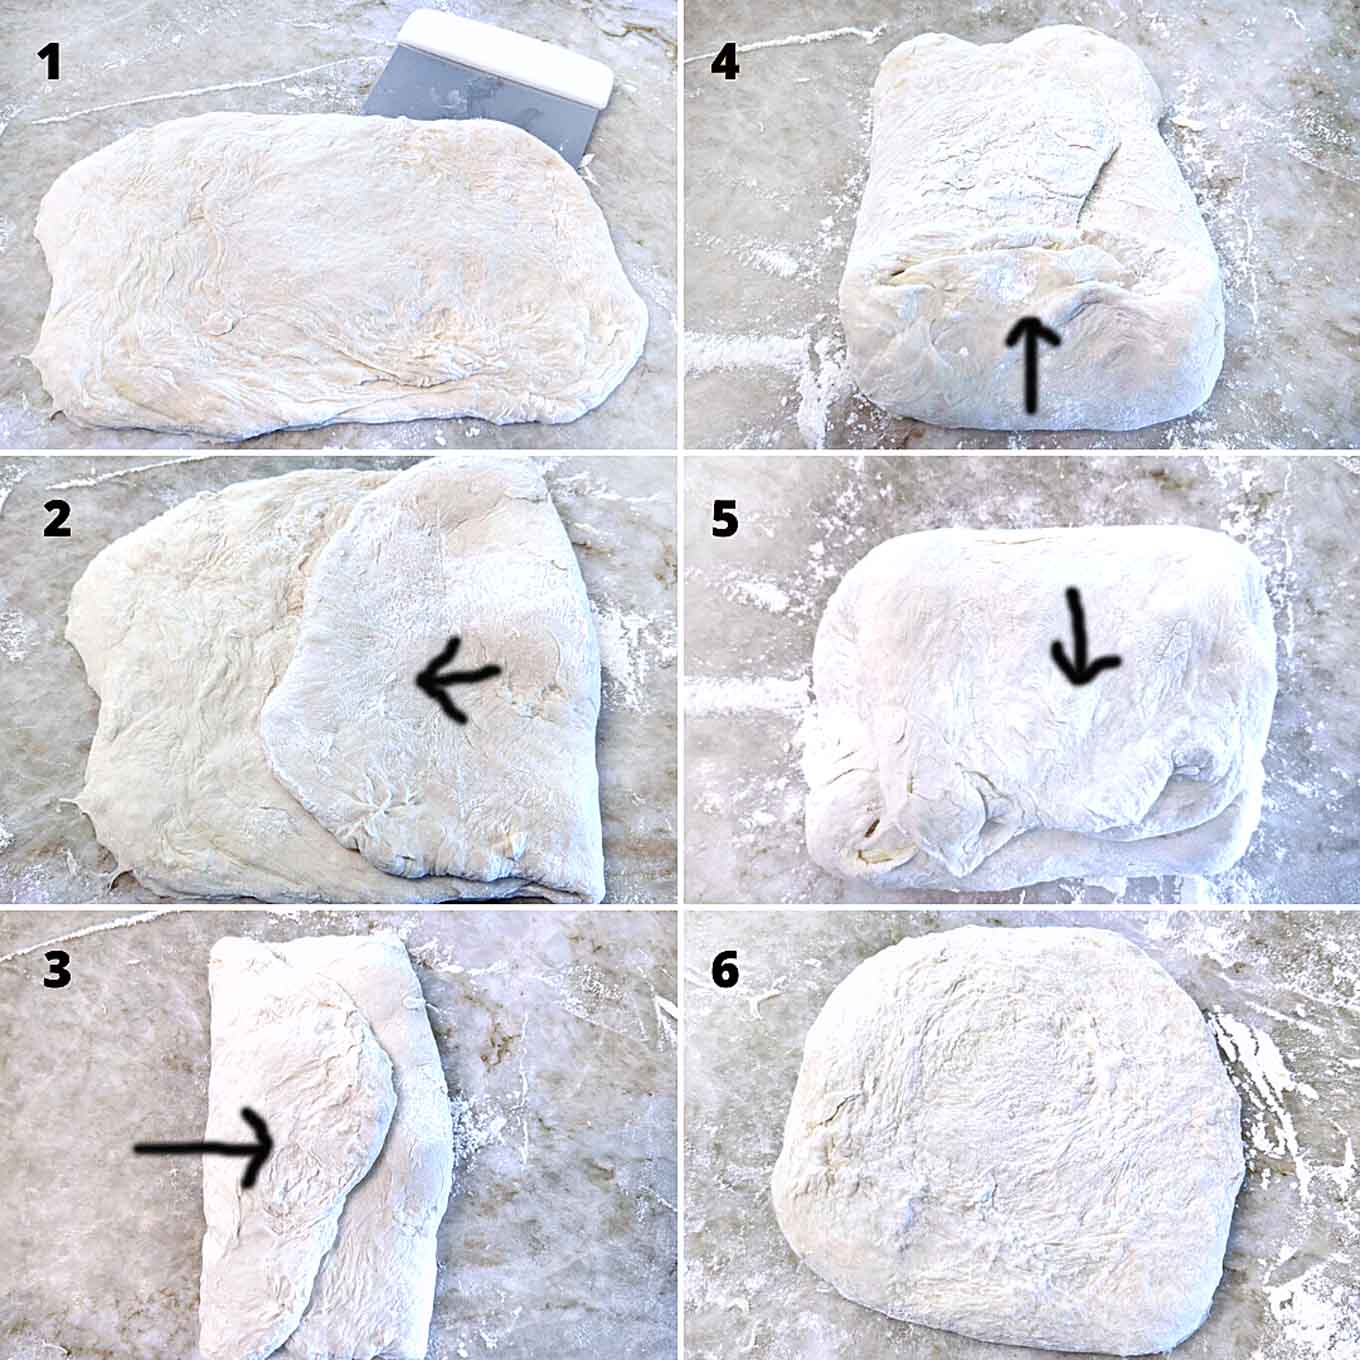
The next steps are the folding process that will give the dough the textures and appearance we want.
- On a floured surface flatten the dough out to make a rectangle
- Fold over ⅓ of the dough to the center (you’re folding the widest part first as shown in the pictures above)
- Fold over the other side of the rectangle overlapping the first fold of the dough
- Continue the folding process by folding the bottom ⅓ of the dough upwards toward the center of the little package you’ve made
- Now fold the top part of the dough down overlapping the fold you just made
- Turn the dough over (seam side down) and make a disc or oblong loaf, depending upon what shape of bread you want to make.
A Dough Scraper or cutter will make the process easier and help move the dough around without constantly touching it.
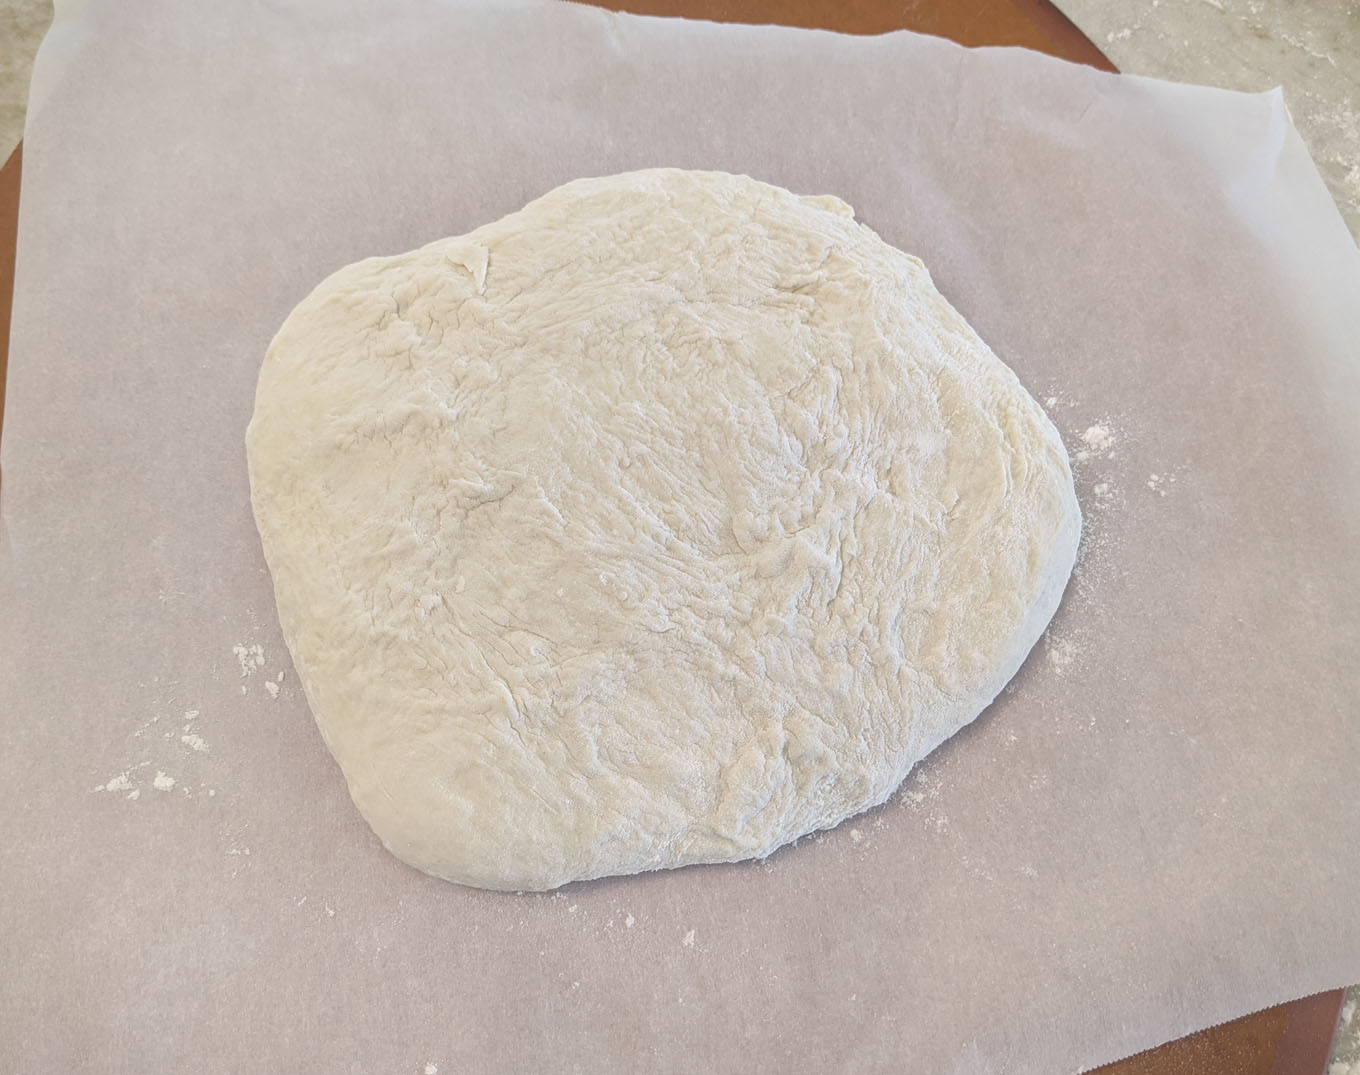
Place the finished dough on parchment paper (sprinkle cornmeal or flour on the parchment before placing the dough)
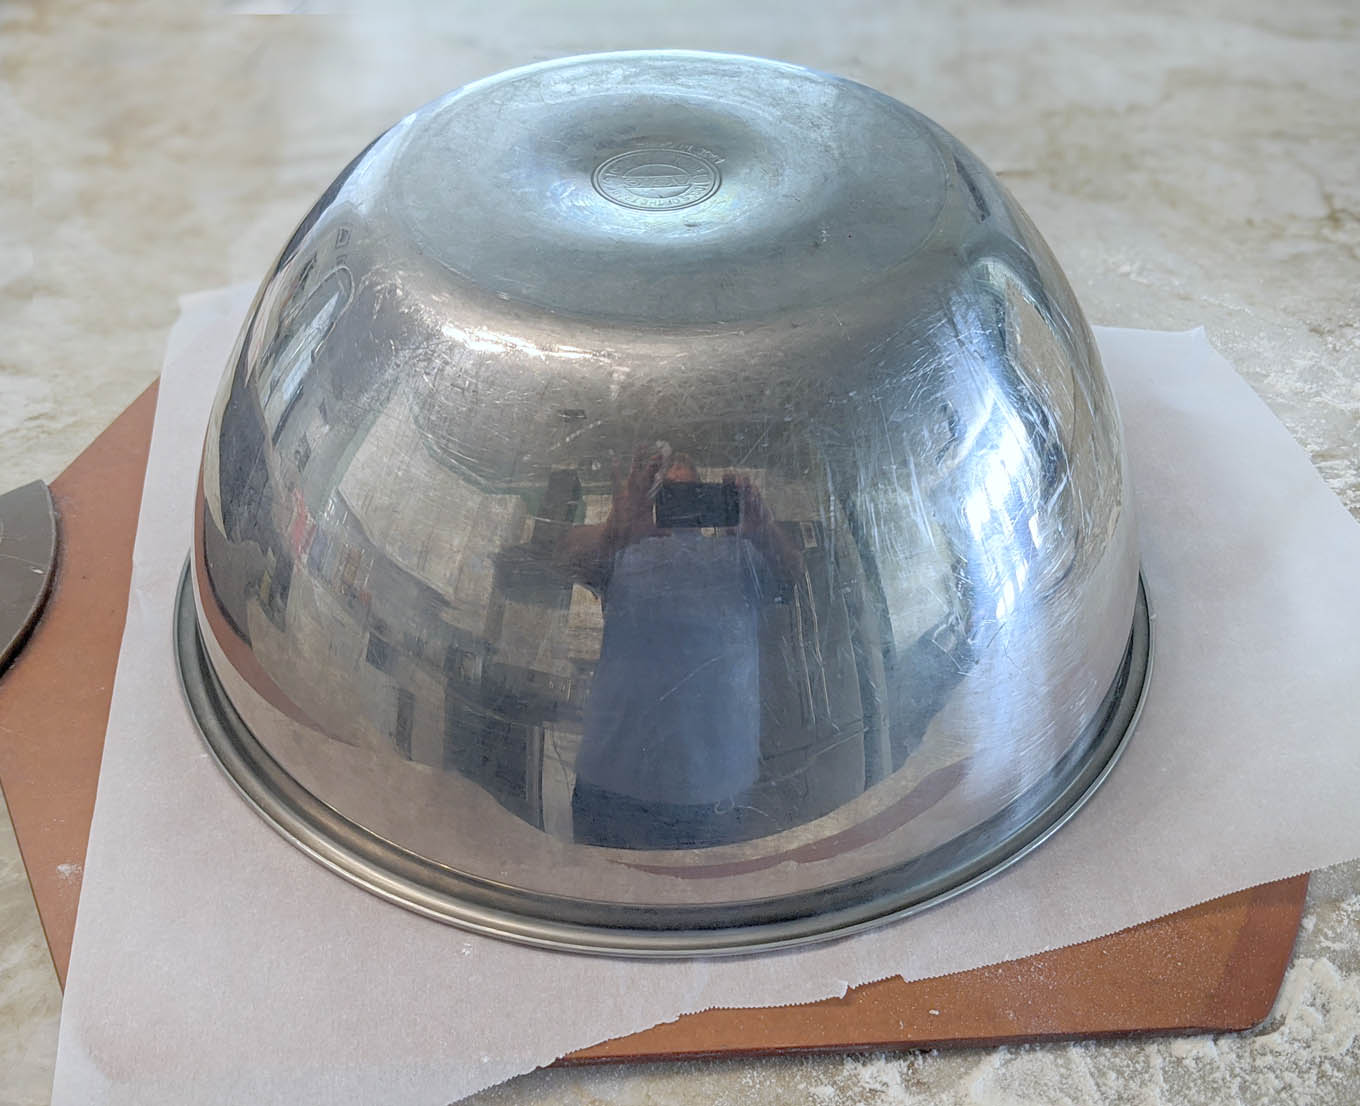
For the second rise, cover the dough with a bowl or damp tea towel. Preheat your oven to 450 degrees F. and place the dough on top of the stove.
The rise time will be 30-40 minutes for the second rise.
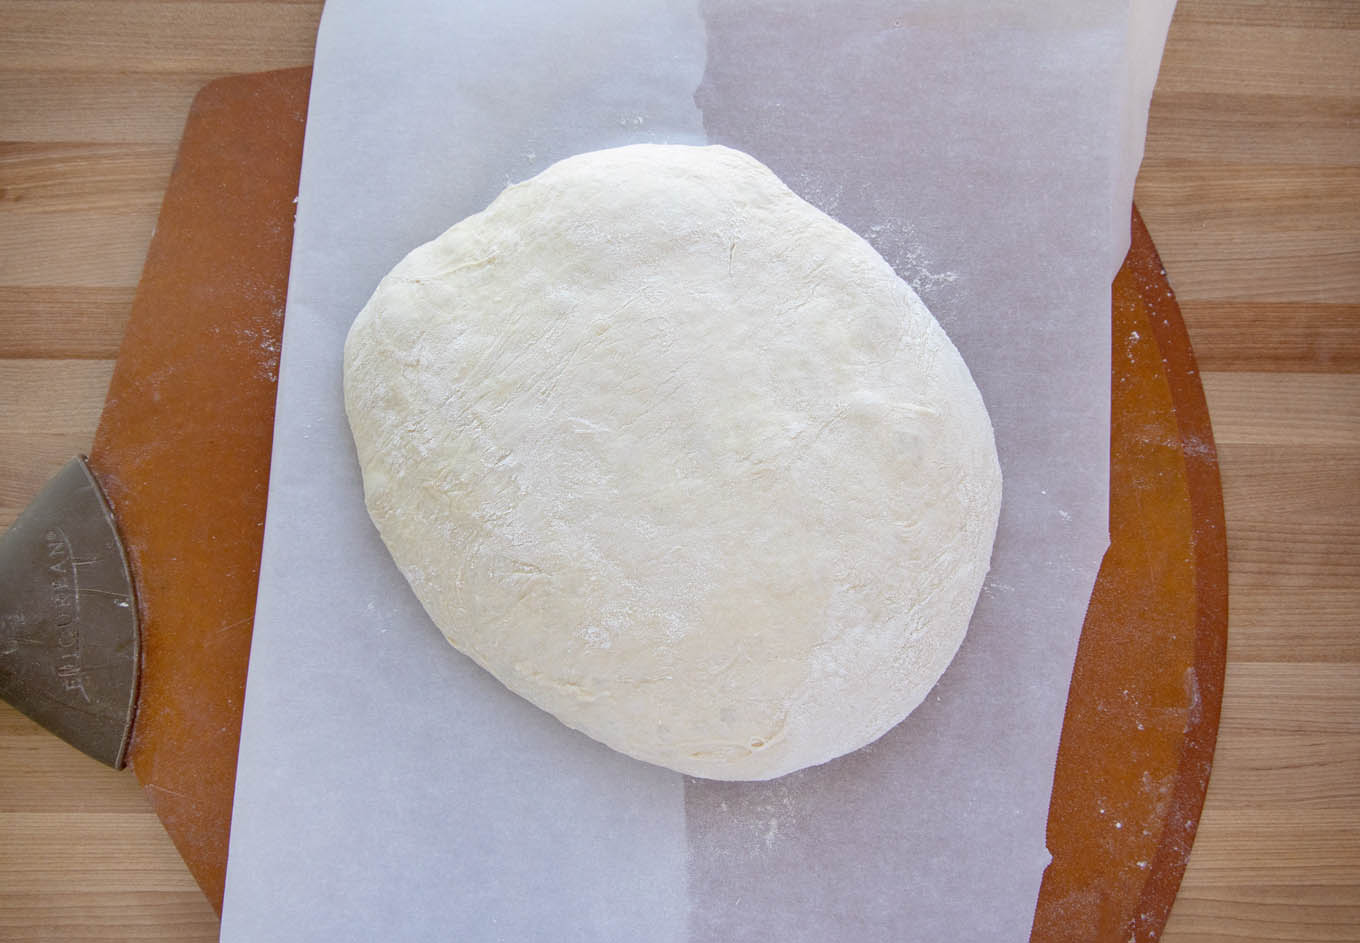
When the bread has finished rising, it should have a pillowy appearance and feel. When you shape the dough, don’t handle it any more than you have to.
The next step is cutting a design (if you want to) on the top of the bread. I used one of my kitchen knives, but they never really make great cuts, so I ordered a Bread Lame and Scoring Tool from Amazon. You don’t really need this, but you know what they say about a boy and his toys.
The last step before placing the bread dough in the oven is to brush it with water. Water helps crisp up the outer crust of the bread, making it crusty, which I love.
- Brush with olive oil for a smooth chewy crust
- Dust the bread with flour for a rustic look and chewy crust
- Brush with melted butter for a softer crust and appearance
- Brush with egg to get a shiny brown crust
**If you want to add seeds to the bread, any of the wet methods will help the seeds stick to the bread.
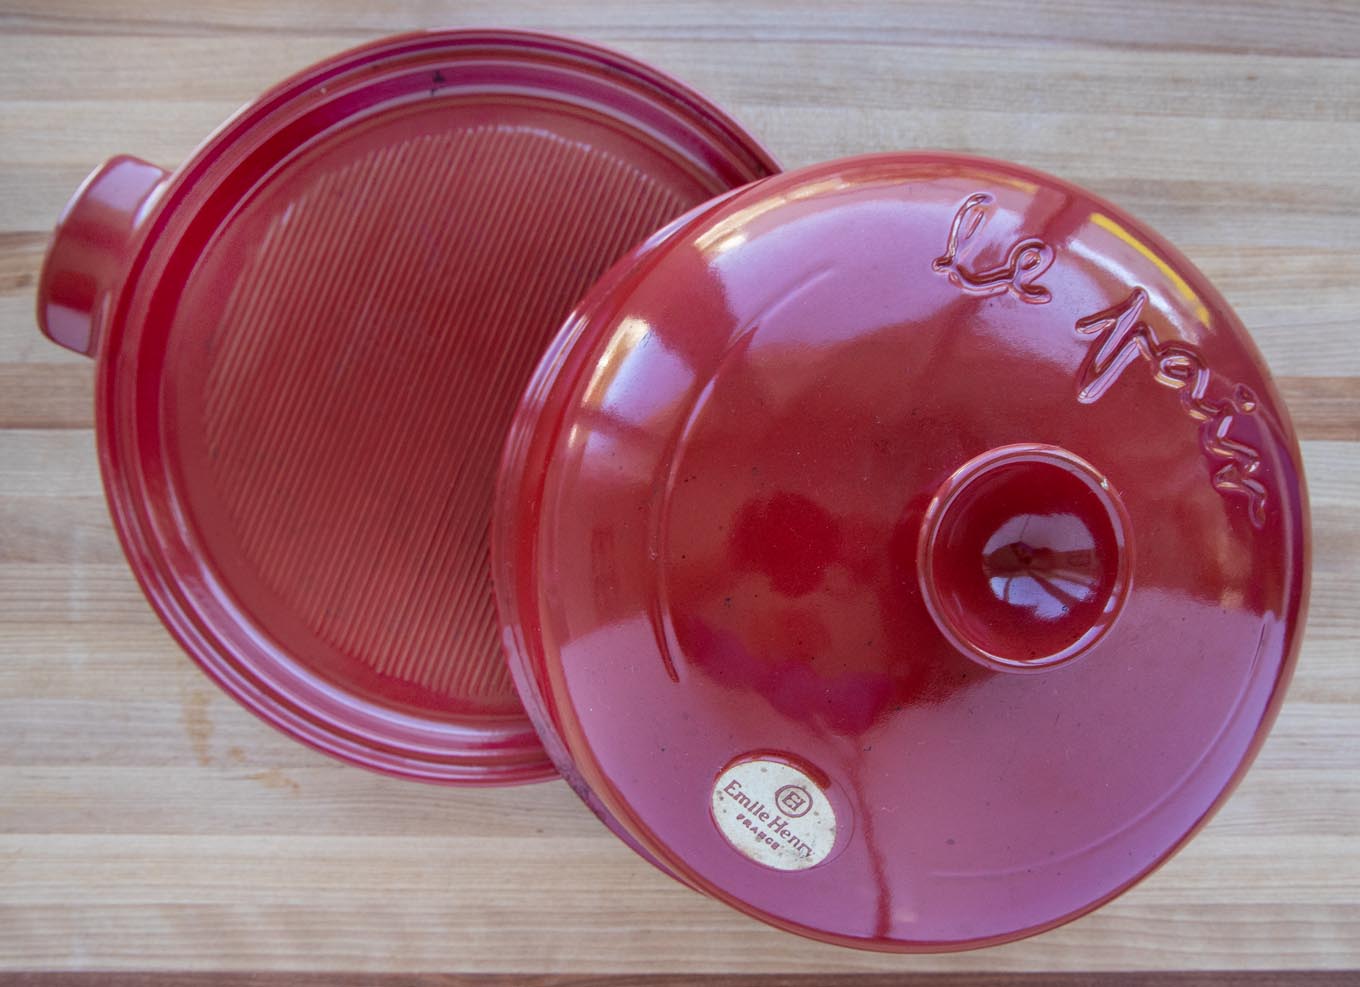
I use an Emile Henry Cloche to bake my bread in. You can also use a Dutch oven for this Artisan Bread.
What size dutch oven should I use to bake this recipe?
To make one loaf from my recipe, you will need a 7 qt. dutch oven or bigger. If you have a 5 qt Dutch oven, you can reduce the recipe by one-third or make two loaves.
What if I don’t have a cloche or a Dutch oven?
If you don’t have a cloche or a Dutch oven, a heavy metal cake pan (round or oblong) will work. If you use a cake pan, you will do your final rise in the pan. The bread will come out a little darker because it won’t be covered.
Recipe FAQ
Bread that is mass-produced using large machines is referred to as Supermarket Bread. Artisan bread is usually made by hand using longer and more traditional processes.
My side-by-side tests showed that my folded no-knead bread had a rounder, more appealing flavor and had a better balance between acid and sweet than the loaves without folds.
The main reason your bread isn’t crusty is moisture, which comes from inside the bread. When cooling, you must give your bread enough room to breathe. Keep your bread on a cooling rack with enough space under it.
after my bread has cooled, I give it 7- 10 minutes and place it directly on the center rack in a 350-degree oven. This crisps the outside of the loaf nicely.
Yes, you can, but not using this recipe. Bread flour has a higher protein count which means the ingredients would have to be adjusted to accommodate using bread flour.
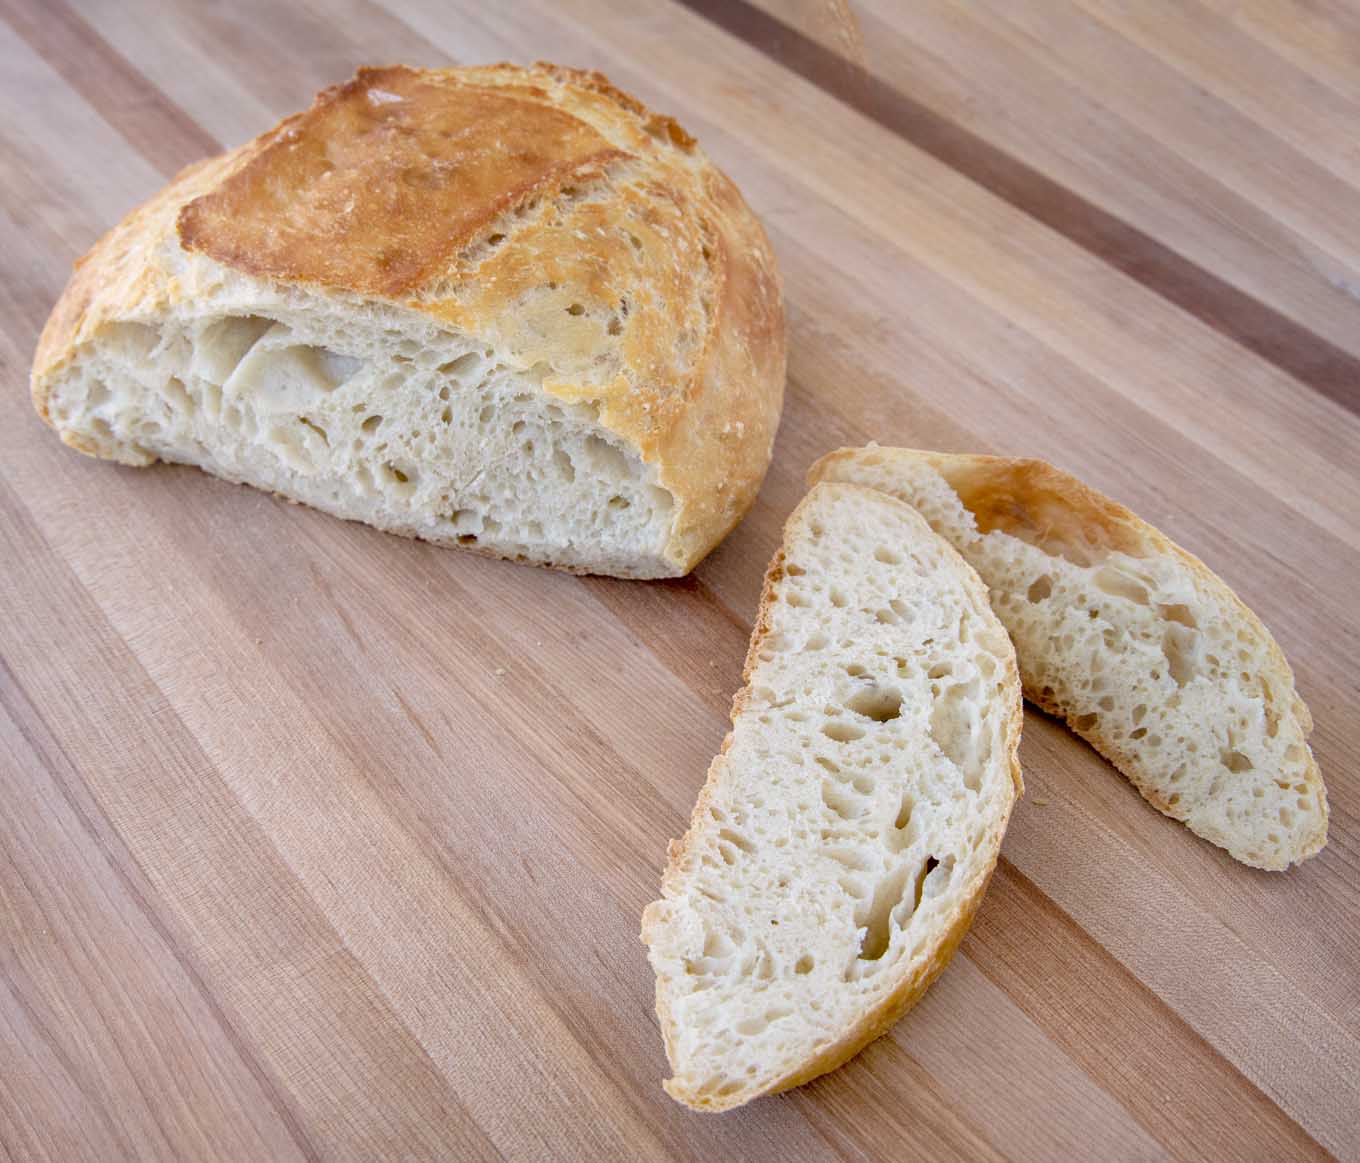
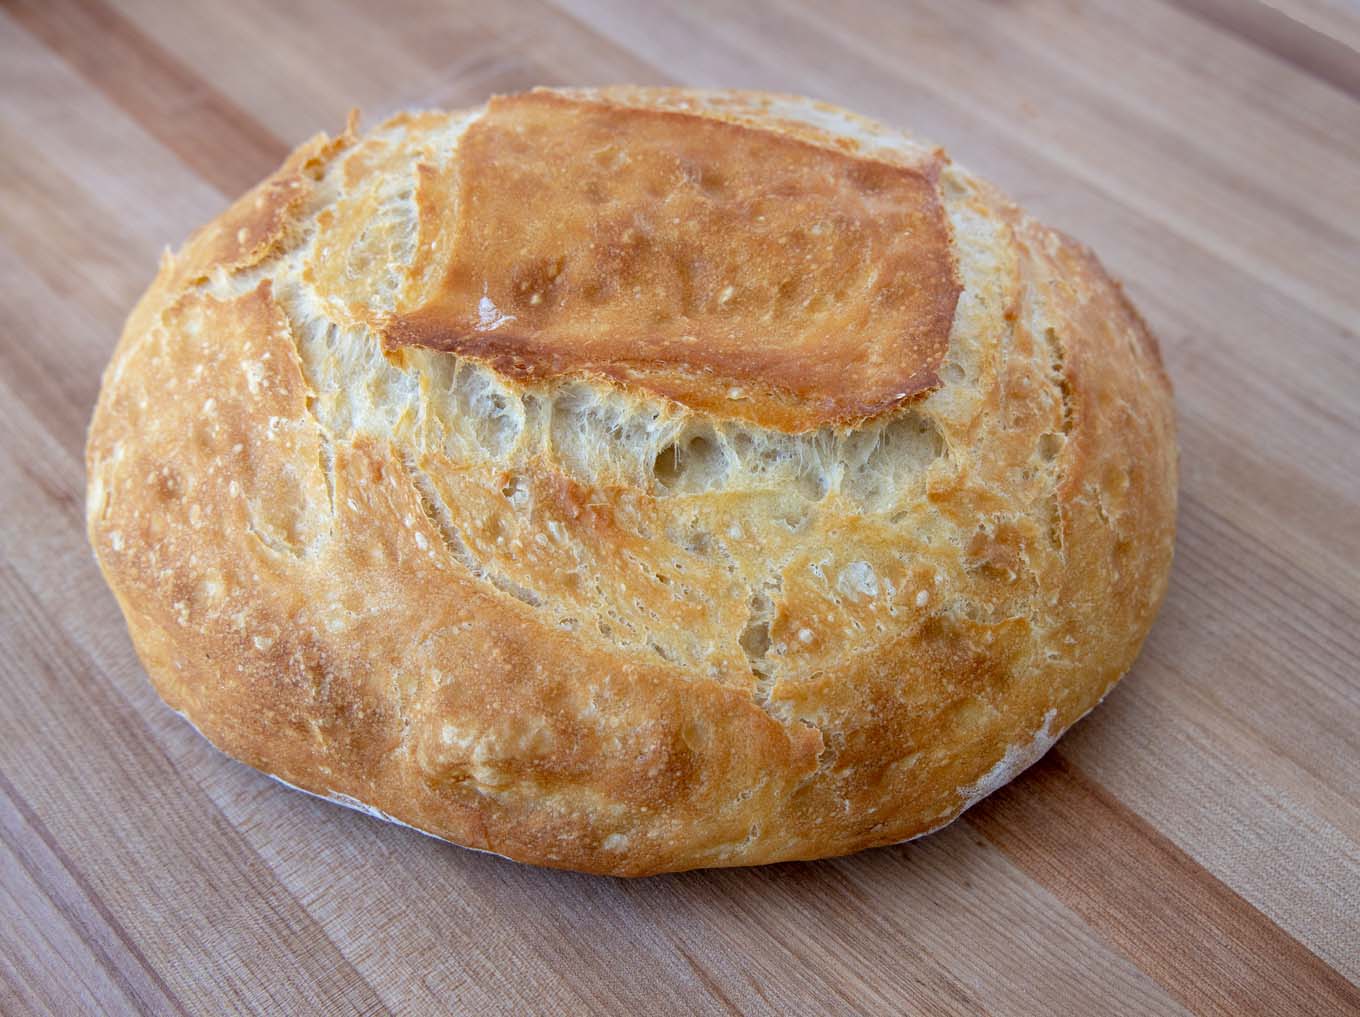
The finished bread is golden brown, crusty, and delicious. Once you get the hang of it, the process will only take minutes.
I keep a ziplock few bags of flour and other ingredients measured out ahead of time. That makes it super easy to make the bread after dinner so it’s ready to bake in the afternoon.





Jess says
This is such an easy recipe to get fresh bread in your house.
Maren says
I love artisan bread! The crust on your bread looks so crisp and delicious
Amber Myers says
I might have to make this. I LOVE fresh bread in the house. I know I’d eat so much of it, but you know, worth it 😉
Beth says
This looks like a great recipe for homemade bread! I haven’t made bread in years and didn’t think I would be up to all the work that is normally involved. I am excited to try this.
Sue says
Yum! There is nothing like the smell of fresh baked bread!
Pam Wattenbarger says
I love to make bread from scratch. It’s so relaxing to knead the dough. I look forward to trying your recipe too!
MELISSA Chapman says
This is a great tutorial for bread makers. Alas I have never made bread at home. I wish I could make a bread like this and it looks so moist and fresh.
Danielle Fox says
I never thought to use my dutch oven as a took to make bread. I am totally trying this way next time I bake bread
Tasheena says
I have to invest in a Dutch oven. Looking forward to giving this recipe a try.
Jen says
Looks delicious. I’ve never made bread, but it sounds relaxing to knead the dough. Might be fun to have kids help if they have sensory needs!
Melanie says
I have making bread for the last past weekend and I will try yours next weekend. I love that it is not using a lot of yeast! I’m totally saving it and will let you know how it turns out!
robin rue says
That sounds so good. I have never really made bread here at home, but since I have all this extra time I might have to give it a try.
Christi says
Oh wow! This is a GREAT recipe. I have trouble finding good artisan bread recipes that don’t require a lot of ingredients. Thanks so much.
Saif says
I could imagine fresh homemade artisan bread from the oven. Perfect to eat this with butter.
Jane says
Hello again, re-read and found my answer, yes…cover for 2nd rise. :0). Thanks
Marina says
Great recipe!